

I’ve baked a lot of chocolate chip cookies in my life. Flat ones that spread into lace. Puffy ones that tasted like little cakes. Good ones, sure, plenty of good ones. But the cookie I actually wanted, the one with wrinkled crisp edges, a center that stays soft and almost fudgy two days later, and puddles of chocolate instead of chips that sit there like pebbles? That one took me embarrassingly long to figure out.
Turns out it isn’t one big secret. It’s four small levers, and every single one of them is easy. Brown the butter. Lean hard on brown sugar. Add an extra yolk. Chill the dough. Do those four things and the recipe below stops being “pretty good cookies” and starts being the batch people text you about.
Yield: 24 large cookies. Prep: 25 minutes plus at least 1 hour chilling (overnight is better). Bake: 11 to 13 minutes at 350°F.
The Four Levers That Change Everything
1. Brown butter
Melting butter and cooking it a few minutes past melted, until the milk solids turn amber and smell like toasted hazelnuts, adds a deep toffee flavor no extract can fake. It also cooks off a little water, which concentrates everything. Watch it closely. Brown butter goes from perfect to burned in about 30 seconds.
2. More brown sugar than white
This recipe uses 1 cup of brown sugar against just ½ cup of white. Brown sugar holds moisture and its molasses keeps centers chewy. White sugar is there for spread and crisp edges. Flip that ratio and you get a different, cakier cookie.
3. An extra egg yolk
One whole egg plus one yolk. The yolk brings fat and emulsifiers without the extra water in the white, which would steam the cookie puffy. Result: rich, dense, chewy. Not cakey.
4. The chill
Cold dough spreads slower, so the centers stay thick. Chilling also lets the flour hydrate and the brown butter flavor soak into every bite. One hour is the minimum I can defend. Overnight, the flavor gets noticeably deeper, almost like the dough marinated in itself.
Ingredients
- 1 cup (2 sticks / 226 g) unsalted butter, browned and cooled slightly
- 1 cup (200 g) packed dark brown sugar
- ½ cup (100 g) granulated sugar
- 1 large egg, room temperature
- 1 large egg yolk, room temperature
- 2 teaspoons vanilla extract
- 2¼ cups (280 g) all-purpose flour, spooned and leveled
- 1 teaspoon baking soda
- 1 teaspoon fine sea salt (plus flaky salt for topping)
- 6 ounces (170 g) dark chocolate, roughly chopped into chunks and shards
- 4 ounces (115 g) semisweet chocolate chips
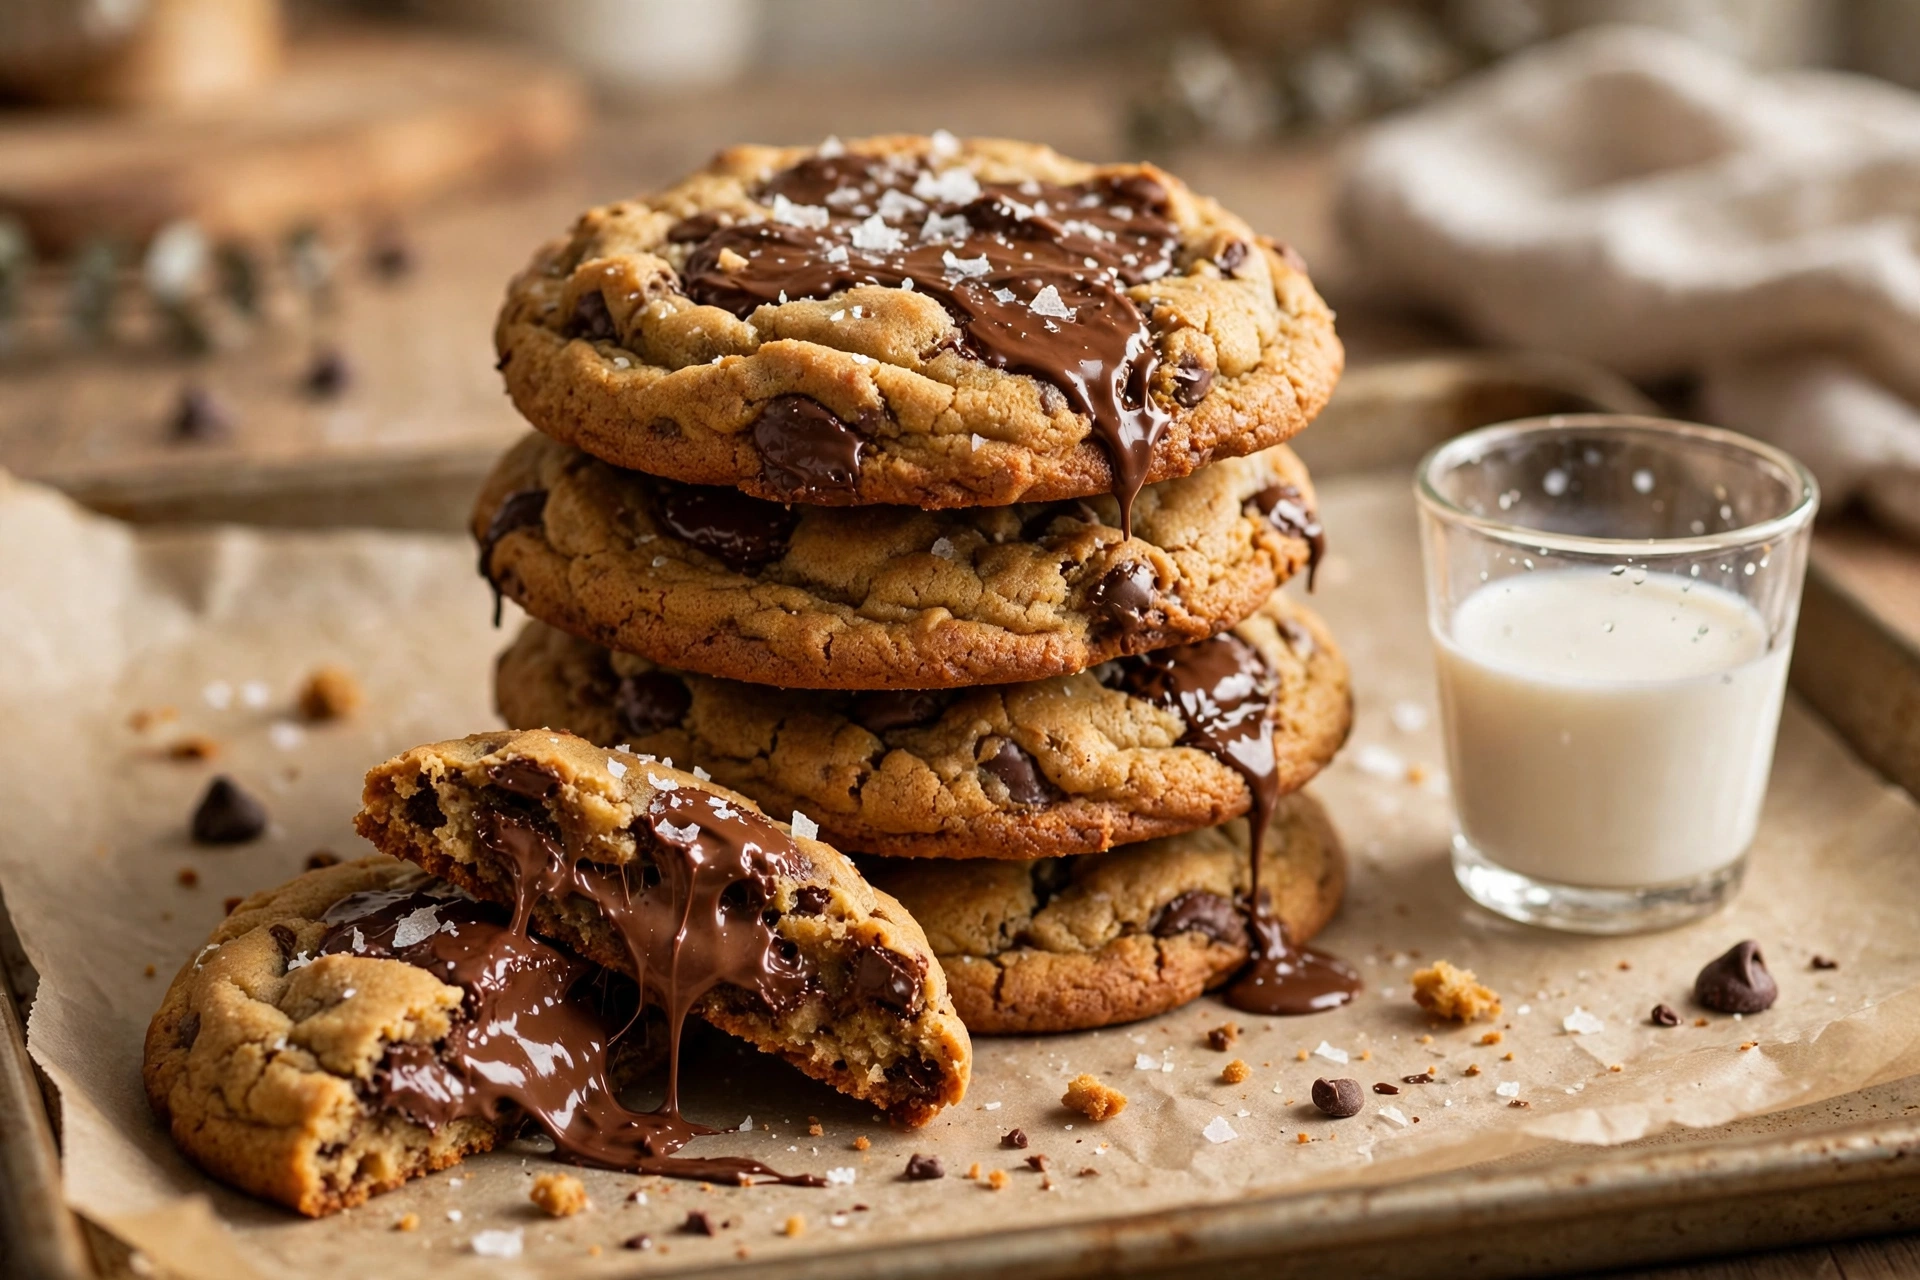
A note on the chocolate, because it matters: chopped bar chocolate melts into puddles and streaks, while chips are made to hold their shape. Using both gives you pools and structure. If you only have chips, the cookies still work. They just won’t have those glossy lakes of chocolate on top.
Step 1: Brown the Butter
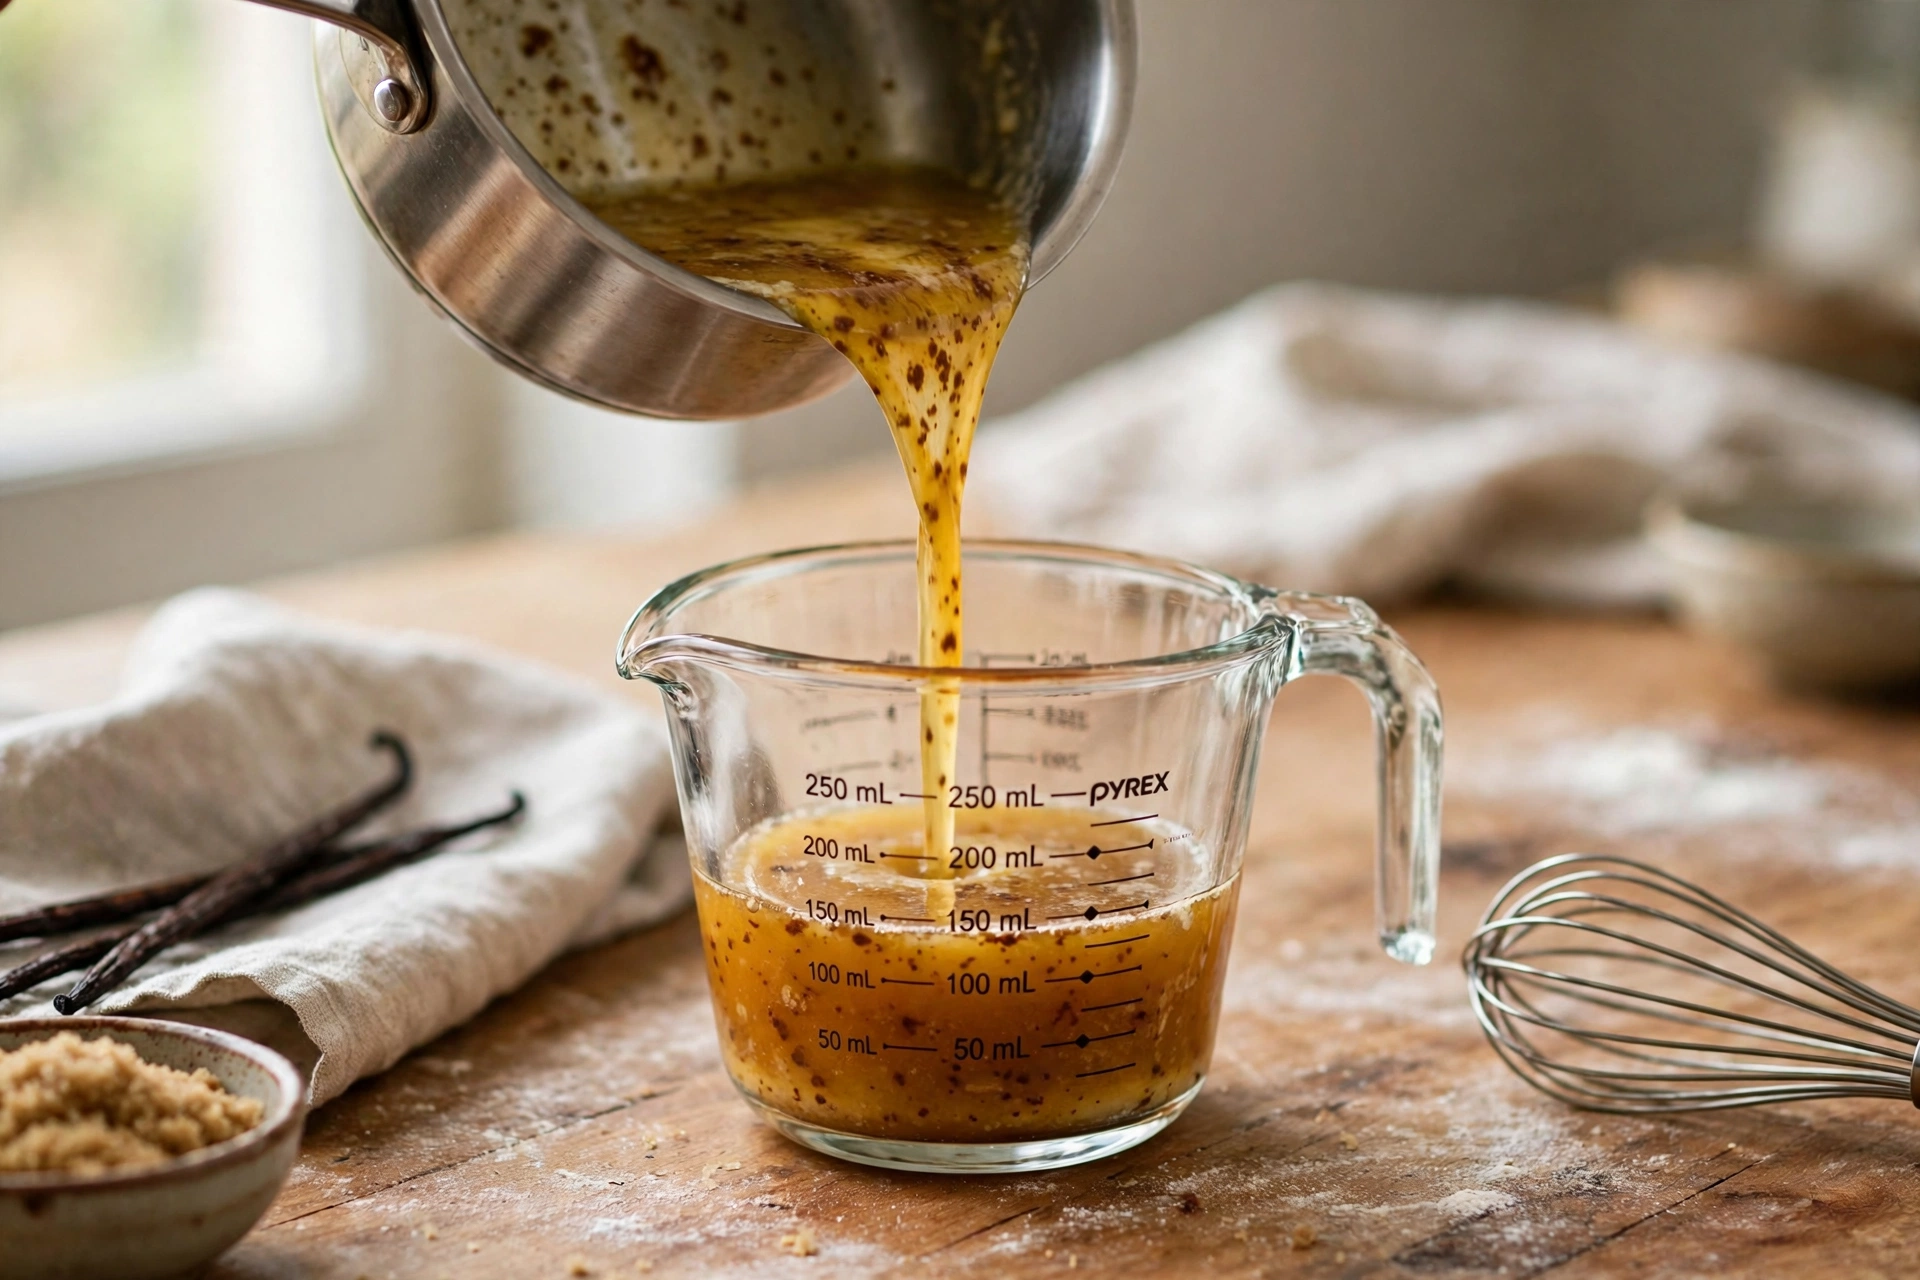
Melt the butter in a light-colored saucepan over medium heat. A light pan matters here, because you need to see the color change. It will foam, then the foam will quiet down, then golden specks will appear on the bottom and the smell will turn nutty and warm. That is your moment. Pour it immediately into a heatproof bowl, scraping in every brown bit, and let it cool 15 minutes. Hot butter will melt your sugars into syrup and wreck the texture.
Step 2: Mix the Dough
Whisk the brown sugar and granulated sugar into the warm brown butter until the mixture looks glossy and smooth, about 1 minute. Whisk in the egg, then the yolk, then the vanilla, until the batter ribbons off the whisk.
Add the flour, baking soda, and fine salt. Fold with a spatula just until the last streaks of flour disappear, then fold in the chopped chocolate and chips. Stop there. Every extra stir builds gluten, and gluten is how chewy cookies turn tough.
Step 3: Chill, Scoop, Chill Again (Briefly)
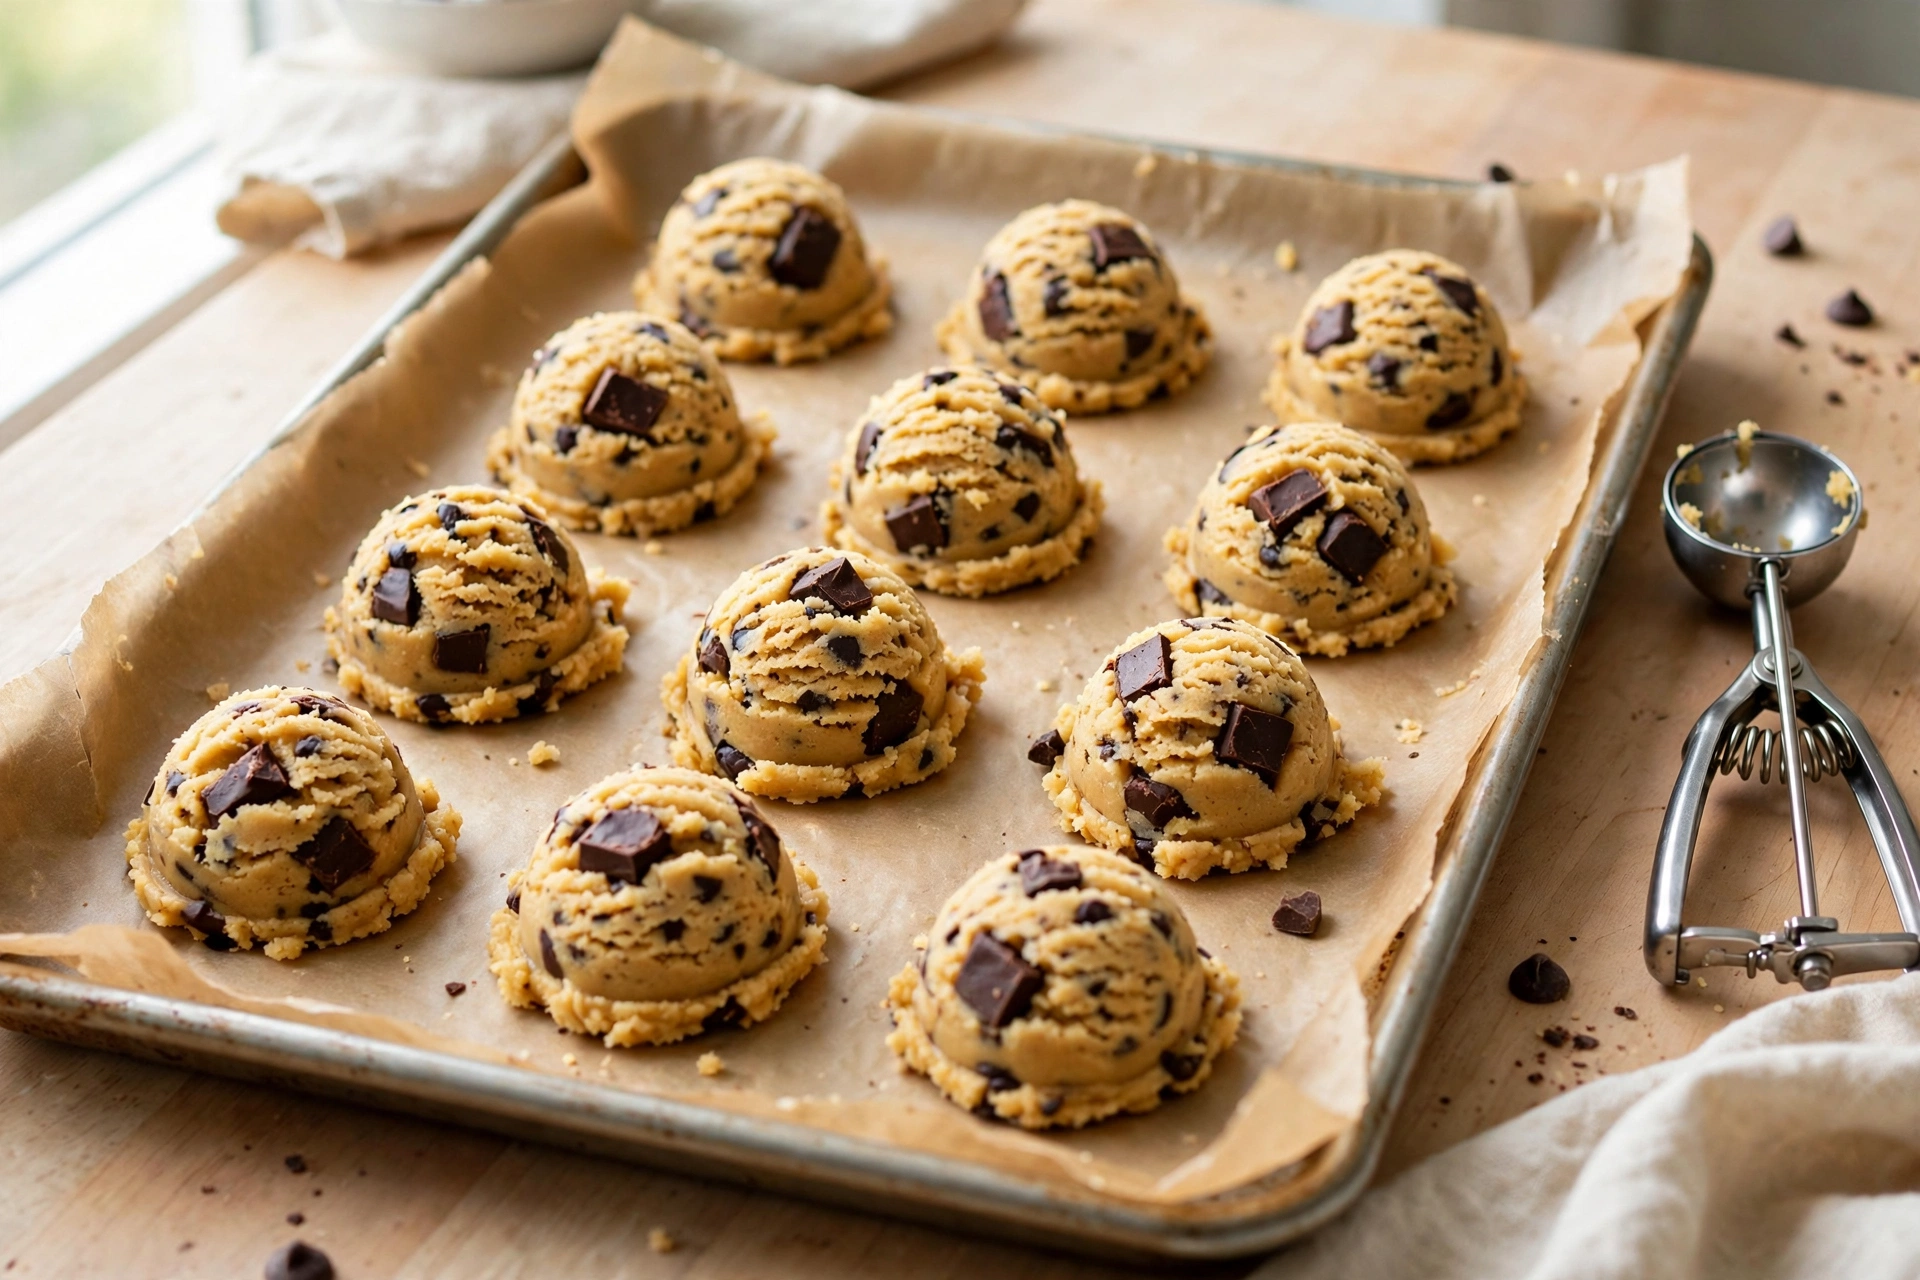
Cover the bowl and chill at least 1 hour, up to 72 hours. Scoop the cold dough into balls of about 3 tablespoons each (a #24 scoop, roughly 55 g). If the dough got rock hard overnight, let the tray sit on the counter 15 minutes before baking. You want the balls cold, not frozen solid, going in.
Step 4: Bake and Underbake (On Purpose)
Heat the oven to 350°F with a rack in the center. Line baking sheets with parchment. Space 8 balls per sheet, no more. These spread.
Bake 11 to 13 minutes. The edges should look set and golden while the centers still look pale, puffy, and honestly a little underdone. Pull them anyway. Carryover heat finishes the job on the hot pan, and this is the exact moment most home bakers lose the chewy center, by giving them “just two more minutes.”
Optional but encouraged: lift the pan and drop it flat on the counter once, right out of the oven. The centers collapse into ripples and the chocolate settles into wrinkles. Sprinkle with flaky salt while they are still warm. Cool on the pan 10 minutes, then move to a rack.
Troubleshooting: What Went Wrong?
My cookies spread into one giant cookie
Your butter was too warm when the sugars went in, or the dough skipped its chill. Warm dough is the number one cause. Also check your baking soda; if it’s older than 6 months after opening, it may have gone weak and changed the spread.
My cookies came out cakey and puffy
Too much flour, almost always. Spoon flour into the cup and level it rather than scooping from the bag, which can pack in 20 percent extra. Or you used two whole eggs instead of the egg plus yolk.
My cookies are crisp all the way through
They baked too long, or your oven runs hot. An oven thermometer costs a few dollars and ends the guessing. Pull the cookies when the centers still look slightly raw. It feels wrong. It works.
The bottoms browned too fast
Dark pans bake hotter than light ones. Drop the temperature to 325°F with dark pans, or double up two sheets stacked together as insulation.
Getting the Flour Right (It Matters More Than You Think)
If I could watch one thing over the shoulder of everyone who bakes this recipe, it would be the flour measurement. A cup of flour should weigh 125 g. Scooped straight from the bag with the measuring cup, that same cup can hit 150 g or more, and 25 extra grams is the entire difference between chewy and bready. Spoon the flour into the cup loosely, then level the top with a knife. Or use a scale once and never think about it again.
The same skepticism applies to your oven. Home ovens routinely run 25 degrees hot or cold, and cookies are unforgiving about it. If your edges are browning before the centers set, your oven is likely running hot no matter what the dial says. An inexpensive oven thermometer will tell you the truth in one bake.
Storage and Freezing
Baked cookies keep 4 days in an airtight container at room temperature. A slice of sandwich bread in the container keeps them soft; they will steal its moisture. Frozen dough balls keep 3 months. Bake from frozen at 350°F and add 2 minutes. Honestly, a freezer stash of dough balls is the single best gift you can give your future self on a bad day.
Frequently Asked Questions
Do I have to brown the butter?
No. Use plain melted butter and the cookies are still very good. But browning takes 5 minutes and it’s the difference between good and the ones people ask about. Try it once.
Can I skip the chill if I’m in a hurry?
You can, and the cookies will still taste fine, but they’ll spread thinner and the flavor will be flatter. Even 30 minutes in the freezer while the oven preheats helps more than you’d expect.
Why does the dough taste even better the next day?
Resting lets the flour fully hydrate and the brown butter and vanilla flavors mingle and deepen. Bakers call it ripening. The texture improves too, because hydrated flour bakes up less raw and pasty in the center.
Can I make these smaller?
Sure. Use 1½ tablespoon scoops and bake 9 to 11 minutes. You’ll get about 40 cookies. Watch the first batch closely, because smaller cookies cross from chewy to crisp fast.
What about nuts or other mix-ins?
Toasted pecans or walnuts, ¾ cup, fold in with the chocolate. Keep the total mix-in volume roughly the same or the dough-to-chocolate ratio gets sad, and nobody wants a sad ratio.
Nutrition Estimate
Per cookie (based on 24 cookies): about 235 calories, 12 g fat, 31 g carbohydrates, 2 g protein, 20 g sugar, 1 g fiber, 150 mg sodium. These are estimates from standard ingredient data. Your mileage will vary with the exact chocolate you chop.
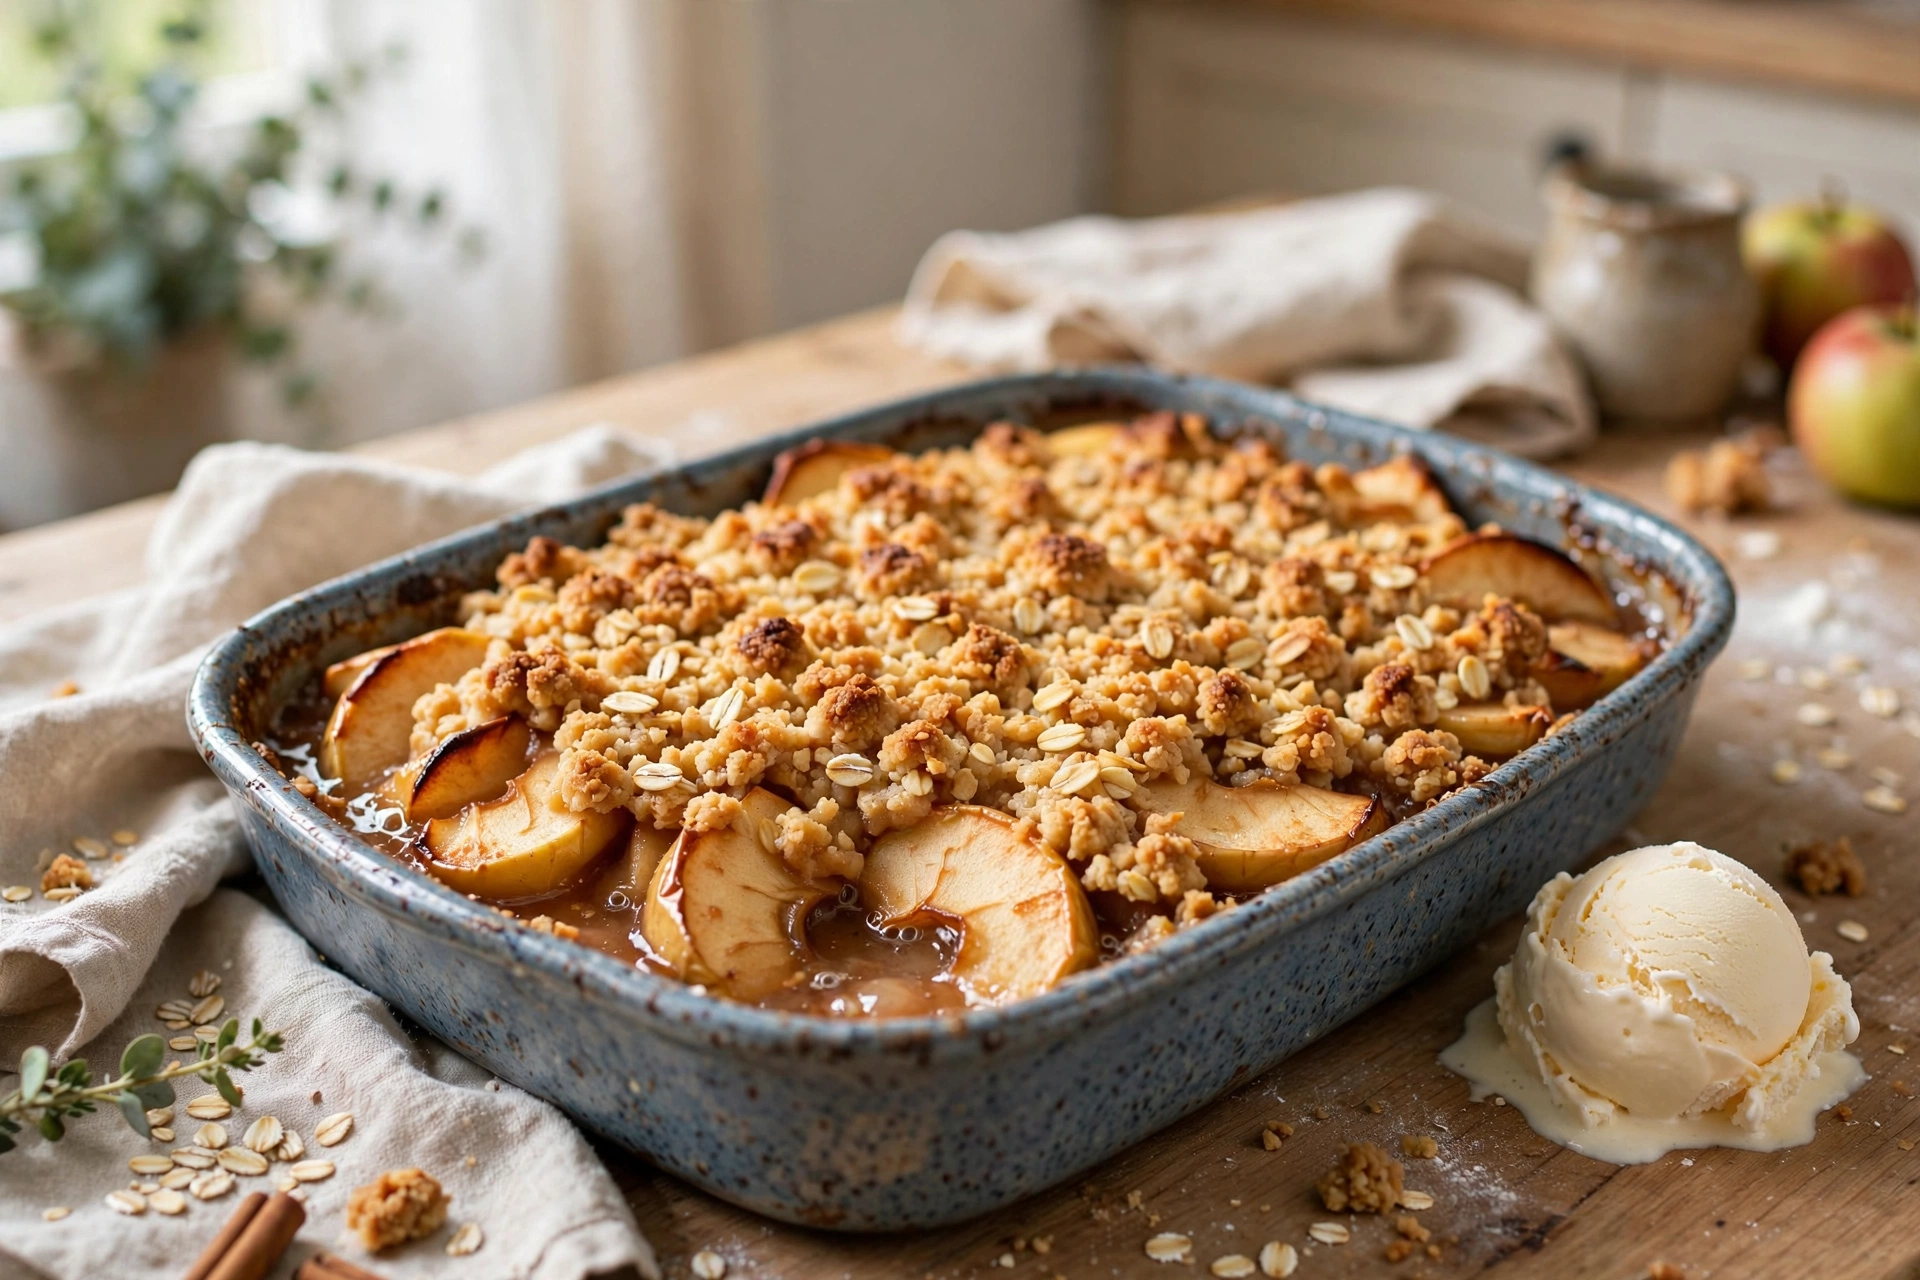
If this one is on your list, these go well with it: Best Bakery-Style Blueberry Muffins, Moist Gluten-Free Banana Bread (Easy One-Bowl Recipe) and Easy Apple Crisp with Oat Topping.
Ingredients
Method
- Brown the Butter. Melt the butter in a light-colored saucepan over medium heat. A light pan matters here, because you need to see the color change. Swirl the pan now and then as the butter melts, foams, and then quiets. When the foam subsides, look for golden-brown flecks at the bottom and a nutty smell. That's brown butter. Pour it immediately into a heatproof bowl, scraping in every browned bit, and let it cool for 15 minutes. Hot butter will melt the sugars into a puddle and give you a greasy, thin cookie, so don't rush this.
- Mix the Dough. Whisk the brown sugar and granulated sugar into the warm brown butter until the mixture looks glossy and smooth, about 1 minute. Whisk in the egg, then the yolk, then the vanilla, until the batter ribbons off the whisk. Add the flour, baking soda, and fine salt. Fold with a spatula just until the last streaks of flour disappear, then fold in the chopped chocolate and the chips. Stop there. Ten extra folds is the difference between chewy and tough, so put the spatula down.
- Chill, Scoop, Chill Again (Briefly). Cover the bowl and chill at least 1 hour, up to 72 hours. Scoop the cold dough into balls of about 3 tablespoons each (a #24 scoop, roughly 55 g). If the dough got rock hard in the fridge overnight, let the tray of scooped balls sit on the counter for 15 minutes before baking. You want the balls cold, not frozen solid, going into the oven.
- Bake and Underbake (On Purpose). Heat the oven to 350°F with a rack in the center. Line baking sheets with parchment. Space 8 balls per sheet, no more. Crowding the pan lets the cookies merge at the edges, and then it isn't really a batch of cookies, it's a sheet of cookie. Bake 11 to 13 minutes. The edges should look set and golden while the centers still look pale, puffy, and underdone. Pull them anyway. Carryover heat finishes the job while they sit on the pan, and that's what keeps the centers soft. If they look done in the oven, they're already overbaked. Optional but encouraged: lift the pan and drop it flat on the counter once, right out of the oven. The centers collapse into those ripples and wrinkles. Sprinkle with flaky salt while the cookies are still warm. Cool on the pan for 10 minutes, then move the cookies to a rack.

2 Comments