Heat the oven and set up the rack. Preheat the oven to 425°F — hot enough to crisp the coating fast before the chicken dries out. Set a wire rack inside a rimmed baking sheet and coat the rack generously with cooking spray. This setup is the whole game: air circulates underneath, so the bottoms get just as crispy as the tops.
Season the chicken. Pat the chicken tenderloins dry with paper towels — moisture is the enemy of adhesion. Season all over with 1/2 teaspoon of the salt and the black pepper. Dry chicken plus seasoned meat means flavor in every bite, not just in the coating.
Set up the breading station. In a shallow bowl, whisk together the gluten-free flour, paprika, garlic powder, onion powder, and remaining 1/2 teaspoon salt. In a second shallow bowl, beat the eggs with the tablespoon of water until smooth. In a third shallow bowl, combine the gluten-free panko and the grated Parmesan. Line them up in order: flour, egg, panko. I use pie plates — they are the perfect size for dredging.
Bread the tenders. Working one at a time, dredge a tenderloin in the seasoned flour, shaking off the excess. Dip it in the egg wash, letting the excess drip off. Then press it firmly into the panko mixture, turning to coat and pressing so the crumbs really adhere. This pressing step is what keeps the coating from falling off later — do not be gentle. Set each breaded tender on the prepared wire rack without touching its neighbors.
Oil the coating. Lightly spray the tops of the breaded tenders with cooking spray, or drizzle with the olive oil. This small amount of fat is what helps the panko turn golden and crisp in the oven — without it, the coating can look pale and taste dry.
Bake. Bake for 18 to 20 minutes, flipping once halfway through, until the coating is deep golden brown and the chicken reaches 165°F on an instant-read thermometer. The flip is worth doing: it evens out the browning on both sides. Do not overbake — chicken tenderloins go from juicy to chalky quickly past 165°F.
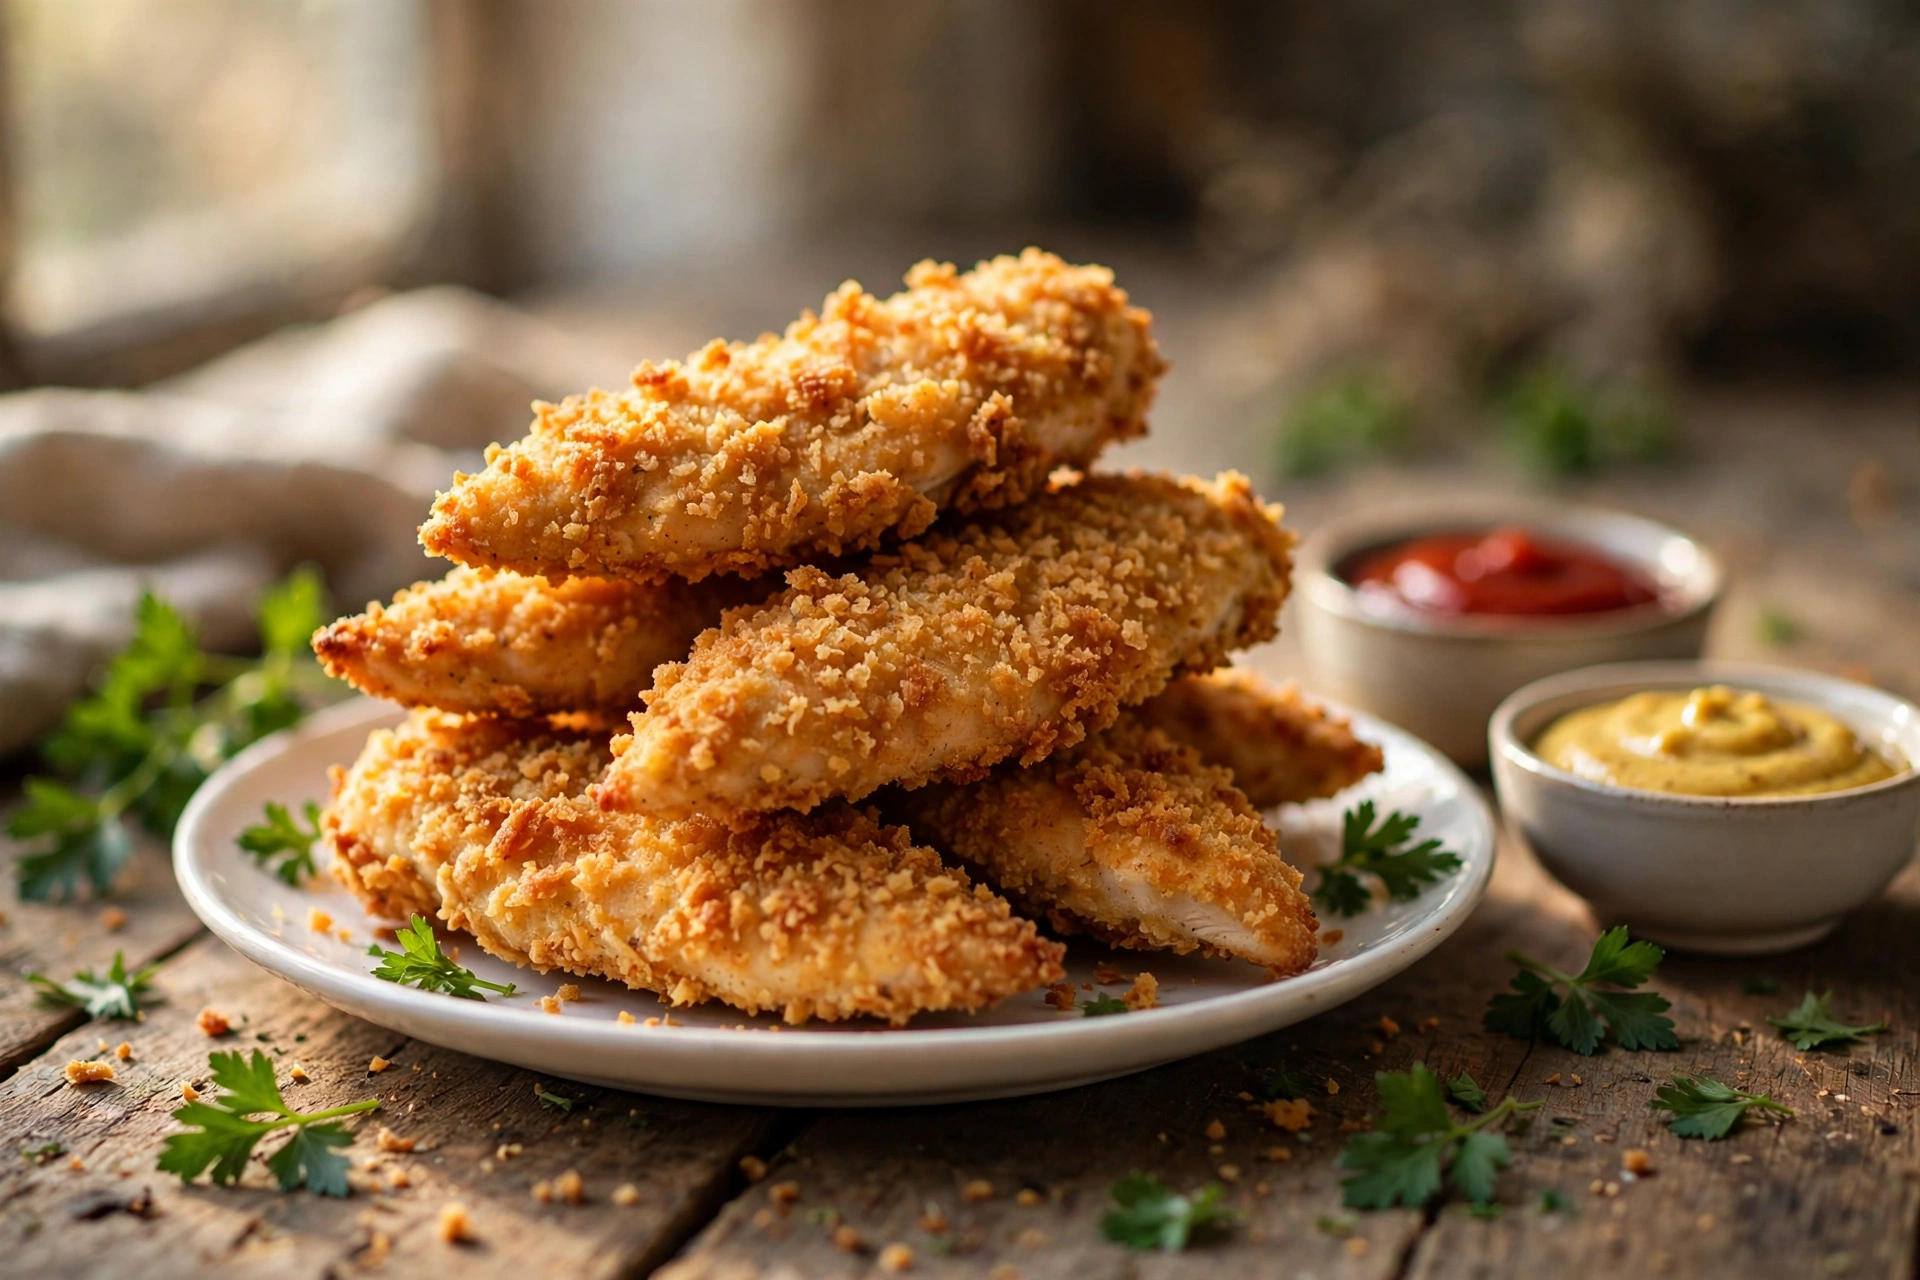
Rest and serve. Let the tenders rest on the rack for 3 to 5 minutes. This lets the juices redistribute and the coating set so it stays put when you pick one up. Serve hot with honey mustard, ketchup, or ranch for dipping. My house goes through an embarrassing amount of honey mustard with these.