The Ultimate Double Smashburger Recipe – Crispy, Juicy Perfection in 20 Minutes
 By admin
Published Jul 16, 2026
By admin
Published Jul 16, 2026
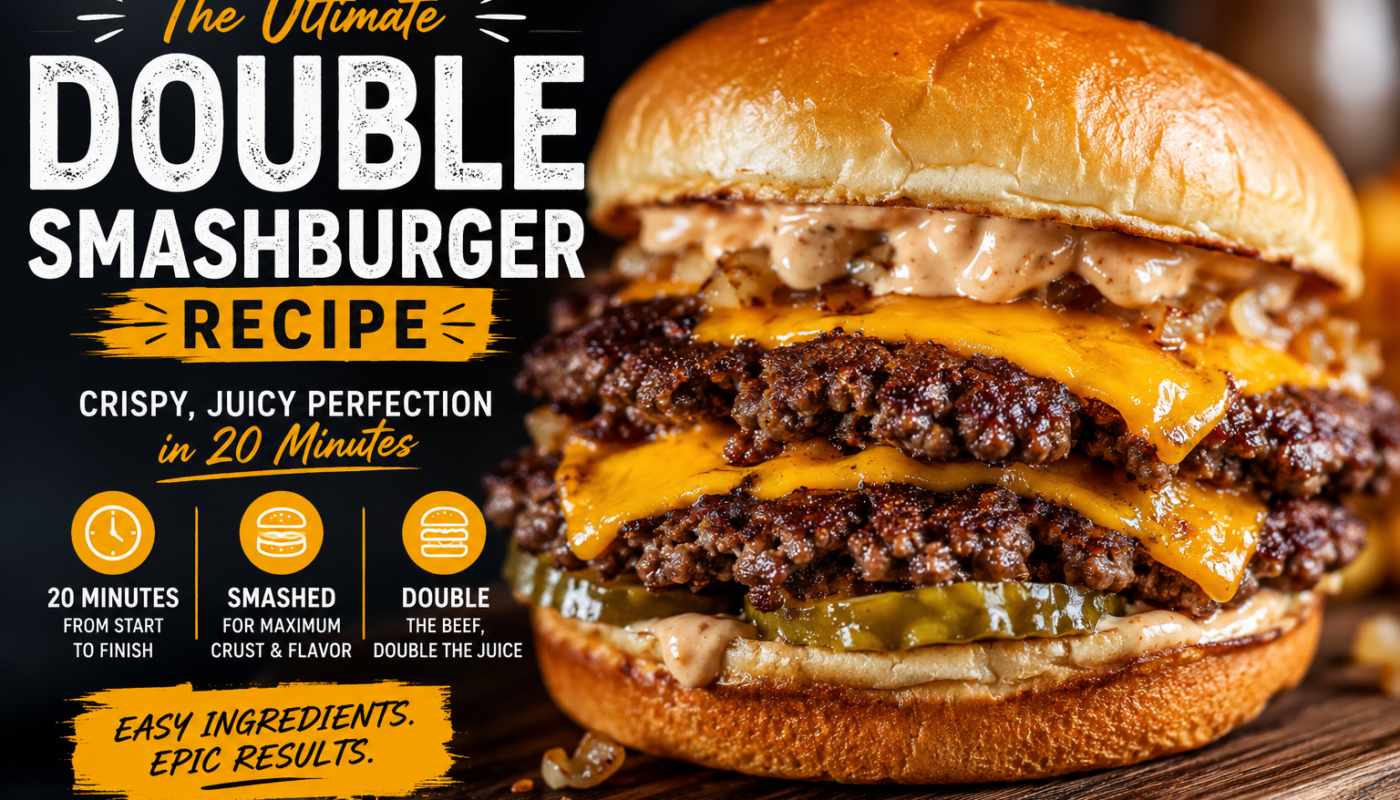
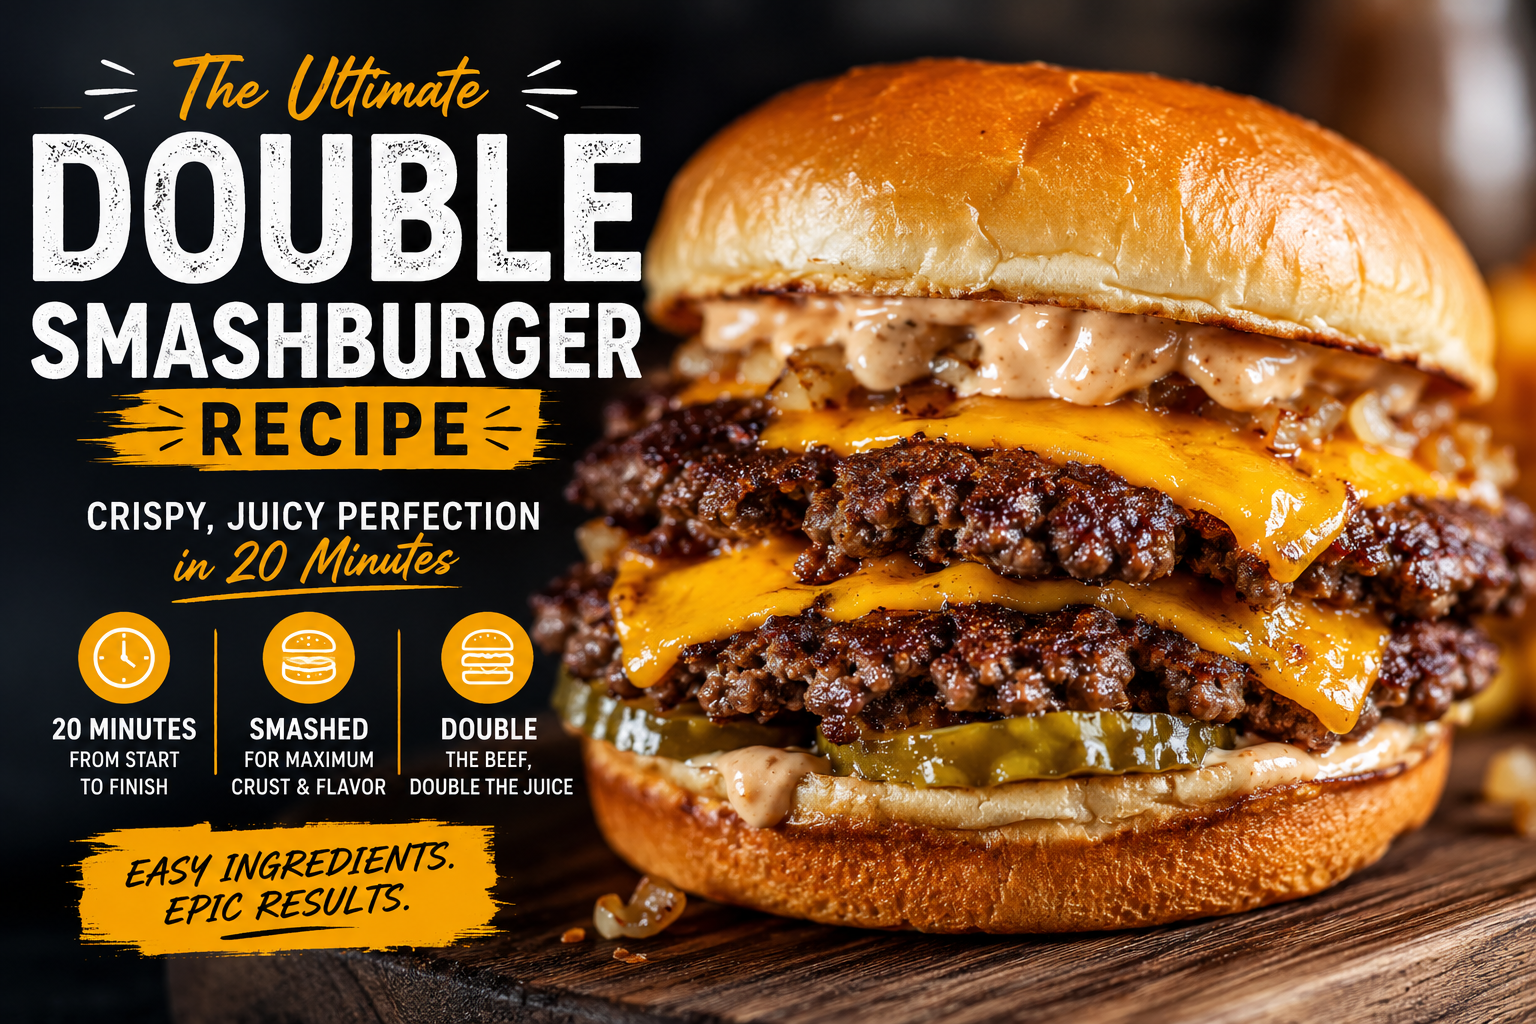
Some burgers are good. And then there’s the double smashburger — the kind that makes you stop mid-bite, look at it, and wonder how something this simple tastes this extraordinary.
This isn’t your average backyard patty. The double smashburger uses a specific technique that professional chefs have sworn by for decades: pressing a ball of 80/20 ground beef onto a screaming-hot cast iron skillet to create a wide, lacy, caramelized crust that you genuinely cannot achieve any other way. Two of those patties, stacked. Double the cheese. A tangy homemade special sauce. Done in twenty minutes flat.
I’ve made this burger more times than I’d like to admit — tweaking, adjusting, eating a lot of mediocre test batches along the way. I dug into techniques from classically trained chefs, including Chef Billy Parisi, who logged over fifteen years in professional restaurant kitchens before ever picking up a camera. I also got into the actual food science: why smashing works, what temperature does to beef proteins, and why two thin patties always beat one fat one. What you’re getting here is everything that actually matters, and nothing that doesn’t.
Now — there’s a chemical reaction that makes all of this possible. It’s called the Maillard reaction, and honestly, once you understand it, you’ll never look at a griddle the same way again. But before we get there, it helps to know where the smashburger actually came from. That story starts in Kentucky, with a can of beans.
Table of Contents
- 1: The History of the Smashburger
- 2: Why the Double Smashburger Beats a Regular Burger Every Time
- 3: Ingredients
- 4: Step-by-Step Instructions
- 5: Pro Tips for the Perfect Crust
- 6: Common Mistakes to Avoid
- 7: Serving Suggestions
- 8: Make-Ahead, Storage & Reheating
- 9: Nutrition Facts
- 10: Frequently Asked Questions
The History of the Double Smashburger
How It All Started in Kentucky
Nobody sat down and designed the smashburger. No test kitchen, no culinary school project. A cook in Ashland, Kentucky just grabbed what was nearby — a No. 10 can of beans — and pressed it down on a beef ball sitting on a hot griddle. That was it. That was the whole invention.
What came out was nothing like a normal burger. Thinner, crispier, with these dark, almost crunchy edges and a flavor nobody had really tasted before in a burger. The guy probably had no idea what he’d just done.
The owner of Dairy Cheer, Bill Culvertson, noticed though. He saw what that smash did to the meat — how the contact with the griddle changed everything — and he made it the way they cooked every burger from that point on. Some Dairy Cheer locations are still running today in Pikeville and Prestonsburg. They still call themselves the home of the original smashburger. Hard to argue with that.
The Science That Makes It Work
So why does smashing a burger make it taste so much better? There’s actual chemistry behind it, and it goes by a name most people have heard but few can explain: the Maillard reaction.
Put simply — when beef hits a surface that’s hot enough, the proteins and sugars on the outside start reacting with each other. Not burning, reacting. That reaction kicks off hundreds of new flavor compounds that give you the dark, savory crust you’re after. It’s the same thing happening when bread toasts, when coffee roasts, when a steak gets a proper sear. Heat plus surface equals flavor.
Smashing the beef just cranks that up. A normal thick patty sits on maybe 20–25% of its surface area. When you smash a beef ball flat, almost the entire patty is touching the griddle at once. More contact, more reaction, more of that crust.
Stack two of those patties and you’ve doubled it. That’s really all a double smashburger is — two full layers of that crust, back to back, in every single bite.
Why the Double Smashburger Beats a Regular Burger Every Time
Let’s be blunt: a thick patty and a smashed patty are two completely different foods.
A traditional thick-patty burger is cooked mostly through indirect heat. The outside browns, sure — but the heat takes time to reach the center, often leaving the interior soft, grey, and less flavorful. You’re compensating with size, hoping the juiciness makes up for what the crust is missing.
A double smashburger plays a completely different game. You put the patty down, smash it, let it sear hard on one side, flip it, throw cheese on top — and that’s genuinely it. The cheese hits the hot crust and starts going immediately. Every bite has that crunch on the outside, soft beef in the middle, and melted cheese running through it. Not just the first bite. Every single one.
Oh, and it takes under two minutes per patty. Your total time from cold griddle to dinner table is roughly ten minutes. That’s not a simplified version of the technique — that’s just how fast it naturally goes when you do it right.
Ingredients
Instructions
- 1
Step 1 – Make the Sauce First Mayo, ketchup, mustard, relish, garlic powder, paprika, cayenne — just dump it all in a bowl and stir. Fridge for ten minutes minimum. Longer is better, the flavor settles in.
- 2
Step 2 – Season and Chill the Beef Balls Ground beef in a bowl, seasonings on top. Work it together with your hands — a few turns, nothing more. Push it too hard and the fat breaks down, the texture gets tight, the patty loses that tenderness you're after. Eight balls, roughly 3 oz each, onto a lined tray. Into the fridge for 10–15 minutes. Cold meat holds together better under the press — you get cleaner edges and a better spread when it hits the pan.
- 3
Step 3 – Heat the Skillet Until Smoking Cast iron, high heat, 3–4 minutes minimum. Most people pull the trigger too early. Wait until you actually see a shimmer on the surface and a thin thread of smoke coming off the pan. Add the oil then, not before. Another 30 seconds and you're ready. A warm pan gives you a steamed grey patty. No crust, no flavor, no point. Hot means smoking. That's the standard here.
- 4
Step 4 – Smash the Patties Beef ball goes in. Five seconds — maybe less — before it starts cooking on the outside. Get the spatula on it fast and lean into it. Hold that pressure for 10–15 seconds. Thin, wide, with rough uneven edges — that's what a proper smash looks like. Pinch of onion on top while it's still raw side up. The steam from the patty below will half-cook them. Leave it alone now. Seriously. 60–90 seconds, no peeking, no nudging. Slide the spatula under when the time's up — if it grips and tears, back off and give it more time. A ready patty lets go of the pan on its own.
- 5
Step 5 – Flip, Cheese, and Melt One flip, cheese goes on immediately. Another 45–60 seconds. Stack the two finished patties with cheese sandwiched between them. Cover for 20 seconds — lid, bowl, whatever you have. Steam does the rest.
- 6
Step 6 – Toast the Buns Cut side down in the pan, 30–45 seconds. Don't clean the pan first — the beef fat still sitting in there is going to soak into the bread as it toasts. That's not a mistake, that's the move.
- 7
Step 7 – Assemble and Serve Sauce on both halves. Lettuce down first, patty stack on top, raw onion and pickles if you want them. Lid it and eat it now. A smashburger waits for nobody. Two minutes on the counter and the crust is already softening. Eat it hot.
Pro Tips for the Perfect Crust Use 80/20 — never leaner. Fat isn't just about keeping the burger juicy. When that ball of beef hits the hot pan and gets smashed flat, the fat runs out toward the edges and fries in place. That's what creates the lacy, crispy fringe everyone's after. Go leaner and you just get a flat, pale, dry disc. Not the same thing at all. Smash once, hold firm, then leave it alone. Press it down, keep steady weight on it for the full 10–15 seconds, then step back. That's your one shot. Every time you press again after that, you're squeezing juice out of the meat — the good stuff that keeps the inside tender. One smash. Done. When you think the pan is hot enough, wait another minute. Seriously. Most people think "hot" is hot enough. It isn't. You need smoking hot — the kind where oil shimmers and dances the second it hits the surface. Anything less and the beef steams rather than sears. The crust just won't form the same way. Parchment paper trick. Spatula sticking to the meat when you smash? Cut a small square of parchment, lay it between the spatula and the beef ball before you press. Cleaner smash, better spread, no tearing. American cheese — don't swap it. Sharp cheddar has its place. That place isn't a smashburger. American melts faster, runs into every gap in the crust, and gives you that glossy diner-style finish. Other cheeses tend to either sit stiff on top or break and go greasy. American just works here. Common Mistakes to Avoid The pan isn't hot enough. This kills more smashburgers than anything else. Warm isn't hot enough. Not even close. You need the kind of heat where oil moves the second it touches the surface. Anything less and the beef just sits there, releasing moisture, turning grey. Three to four minutes on high — at minimum. Waiting too long to smash. You've got a small window — maybe 5 seconds after the beef hits the pan. After that the outside firms up and the patty locks into whatever shape it's in. Miss that window and no amount of pressing will flatten it properly. You'll just end up with a thick, uneven puck instead of a wide lacy crust. Drop it, press it, done. Trying to flip too early. If you slide the spatula under and the patty pulls back or tears, it's telling you something: the crust isn't done yet. Let it go another 15–20 seconds. When the crust is properly formed, it releases cleanly all on its own. No forcing, no scraping. Going overboard on toppings. Smashburgers are thin and delicate. Stack too much on top and you end up crushing the patties under the weight, losing the crunch, and making every bite taste like whatever topping is loudest. Sauce, cheese, lettuce, a bit of onion — that's the whole point. Cold buns. Skip toasting and the bun turns into a soggy sponge the moment sauce hits it. Thirty seconds cut-side down in the pan and it firms right up — holds everything together and adds a little crunch of its own to each bite. Serving Suggestions This double smashburger is a complete meal on its own, but if you want to build a proper spread around it, a few pairings work especially well. Fries are the obvious call — and honestly, thin crispy ones are the move here. That salt and crunch next to the soft bun just works. Want to dress them up a bit? Parmesan and truffle oil. Takes two minutes and feels like a completely different dish. Coleslaw works really well on the side too. The vinegar cuts right through the richness of the beef and cheese — kind of resets your mouth between bites. A quick vinegar slaw takes maybe ten minutes to put together. Nothing fancy, just effective. Drink-wise — cold cola, cold beer, or a vanilla milkshake if you're going full diner. People have been eating burgers this way since the fifties and there's a reason nobody's changed the formula.
Leftover patties keep well refrigerated for up to 3 days, covered. To reheat and preserve as much of the original crust as possible, place them in a hot cast iron skillet for 2–3 minutes rather than using a microwave. The microwave steams the patty and softens the crust completely — the skillet revives it. The special sauce? Airtight container, back of the fridge, good for 5 days. It's also great on a grilled chicken sandwich or used as a dipping sauce for fries — don't let it go to waste. Made too many beef balls? Portion them out, wrap them up, and refrigerate for up to 24 hours. Just don't smash them ahead of time — always smash straight from the fridge, straight into the pan.
Nutrition Facts
Frequently Asked Questions
What's the best ground beef for a double smashburger?
Go with 80/20 — that's 80% lean, 20% fat. The fat is what does the work here. When the beef ball hits the hot pan and gets smashed flat, that fat renders out toward the edges and fries in place, giving you those crispy lacy bits. Leaner beef just goes flat and dry. No fat, no fringe, no crust. If you can grab freshly ground from a butcher counter rather than pre-packaged, do it — the texture is looser and the patty ends up more tender.
Can I make a double smashburger without a cast iron skillet?
Cast iron is the best option — it holds heat well and doesn't drop temperature when the cold beef ball lands on it, which matters a lot for getting that immediate sear. That said, a heavy stainless pan works fine too, and so does a flat-top griddle. Just stay away from non-stick — the coating isn't built for that kind of heat, and the surface doesn't hold or distribute it the same way.
Why do you smash only once?
The first smash maximizes the beef's contact with the hot surface and locks in the shape of the crust. After about 15 seconds the outside firms up and the crust starts forming. Press again after that and you're just squeezing juice out — drier patty, less flavor. One firm press, held steady, that's it.
Can I make smashburgers ahead of time?
Beef balls can be portioned and refrigerated up to 24 hours ahead — cold beef actually smashes better. Sauce keeps for 5 days in the fridge. The assembled burger though? Eat it immediately. Bun goes soft, crust steams itself limp, texture falls apart fast.
What can I use instead of American cheese?
American is the right call — melts fast, runs into the crust, gives you that glossy finish. Provolone or mild cheddar work if you want something different. Avoid anything aged or sharp — at high heat those split and go greasy instead of melting cleanly.
How do I know when to flip the patty?
Watch the edges — when they've gone from pink to brown about a third of the way up, and juice is pooling on the raw surface, flip it. That's usually 60–90 seconds on high heat. Try to lift it and it grabs? Give it another 15 seconds. A ready patty peels off the pan on its own.