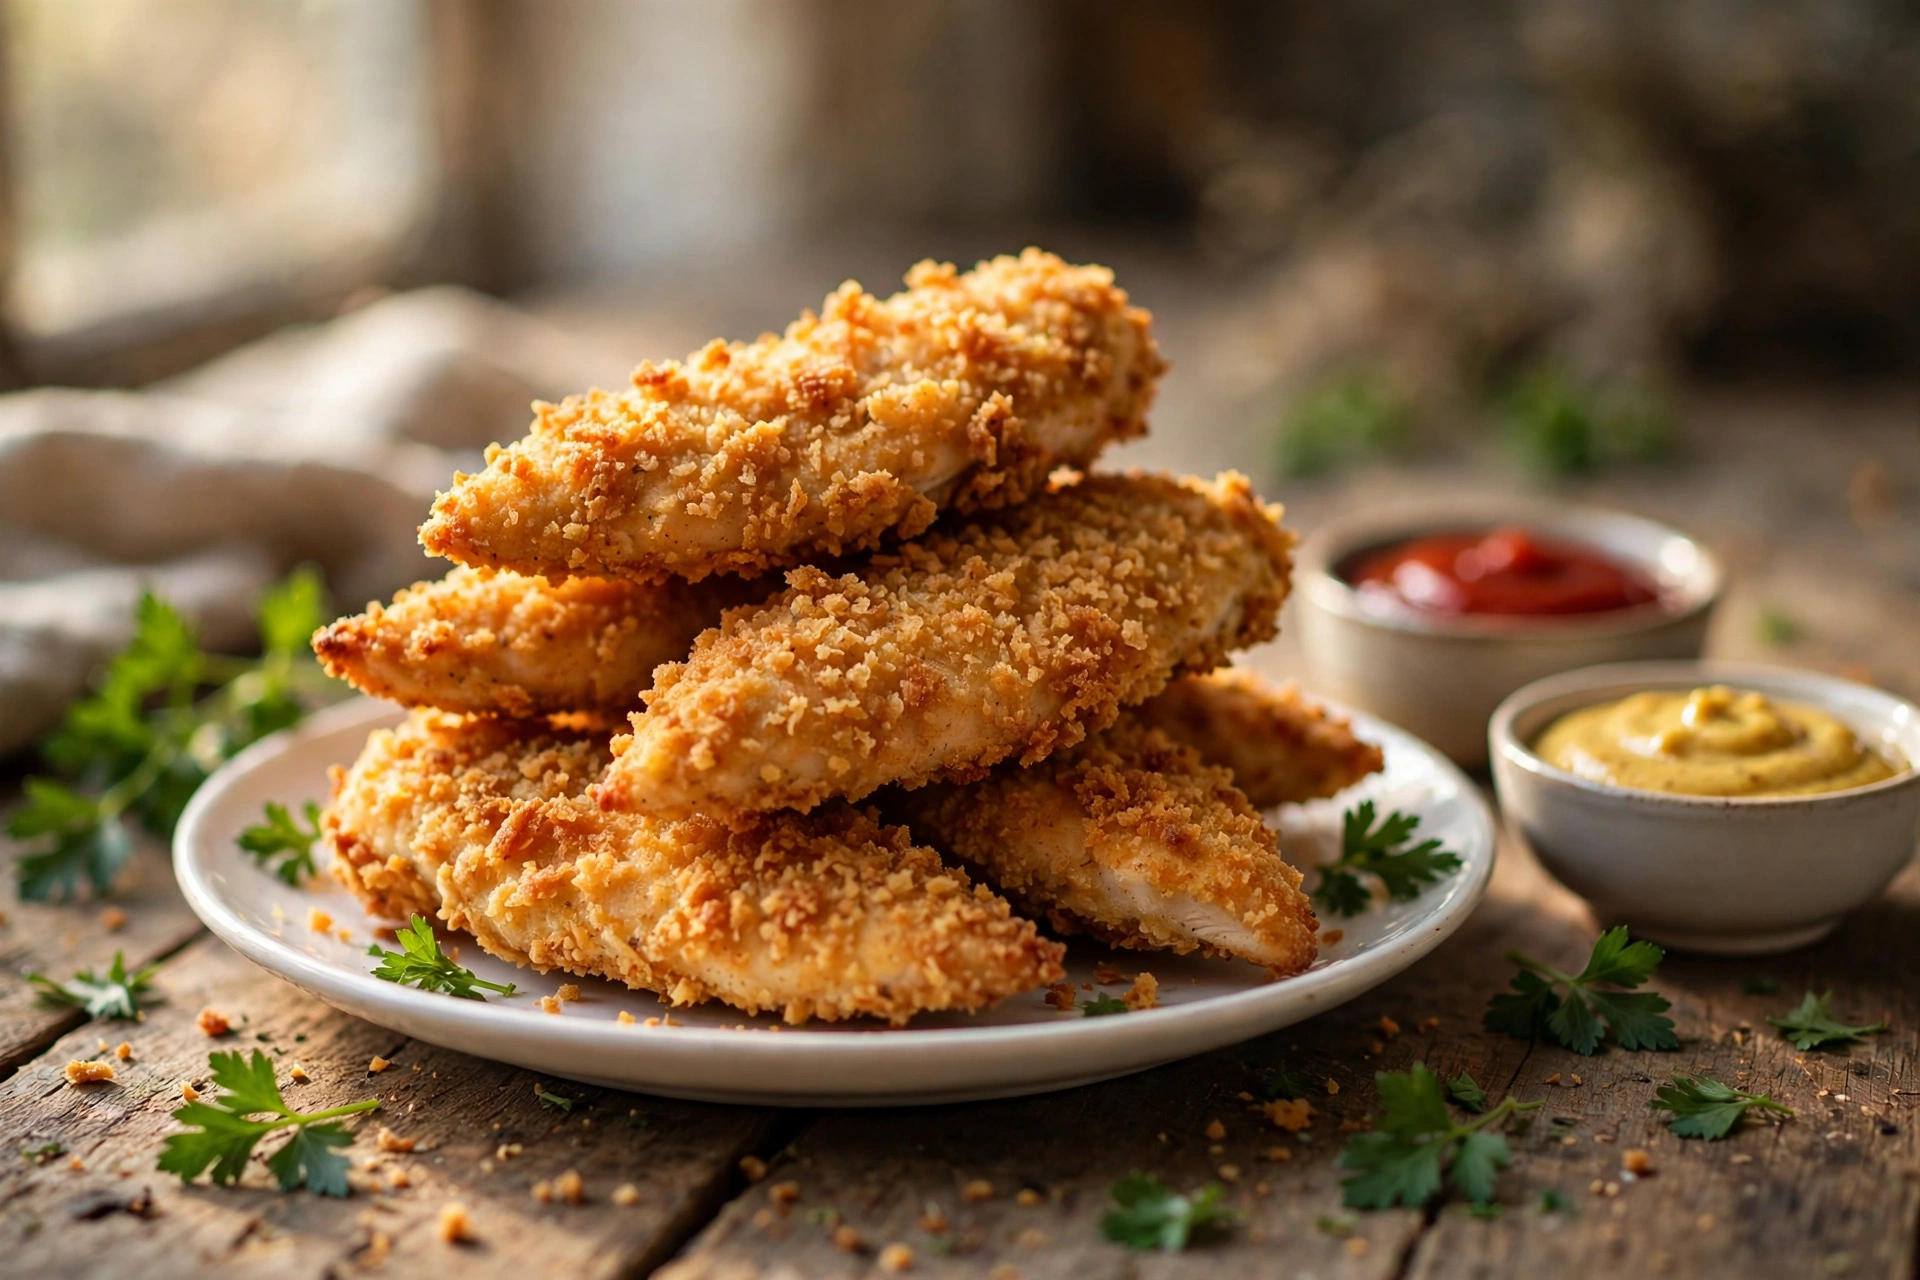
When my son’s best friend — who has celiac disease — started coming over for dinner every Friday, chicken tenders became a regular negotiation in my house. The frozen gluten-free nuggets from the store were, in my son’s devastating review, “fine, I guess,” which is kid-speak for terrible. The homemade batches I tried first were either soggy or the coating slid right off like a little jacket. I must have tested six different coatings before I figured out the combination that actually works: gluten-free panko, a hard press, a hot oven, and a wire rack so the hot air hits every side.
Now these are the tenders both kids ask for by name, and here is the part I love most: nobody at my table can tell they are gluten-free. The coating shatters when you bite it, the chicken inside stays juicy, and because they are baked instead of fried, I feel good about making them on a regular weeknight. They take 35 minutes start to finish, which puts them squarely in the “faster than arguing about dinner” category.
Why You’ll Love This Recipe
- Genuinely crispy: The gluten-free panko coating bakes up golden and crunchy — no soggy bottoms, no sad breading.
- Baked, not fried: All the crunch with a fraction of the oil and none of the splatter or smell.
- Juicy inside: A quick brine-like seasoning and the right oven temp keep the chicken tender, never dry.
- 35 minutes total: Faster than delivery, and infinitely better than the freezer aisle.
- Kid and celiac approved: Safe for gluten-free diets and picky eaters alike — the rare recipe that pleases both.
- Freezer-friendly: Make a double batch and freeze the extras for emergency dinners.
Ingredients
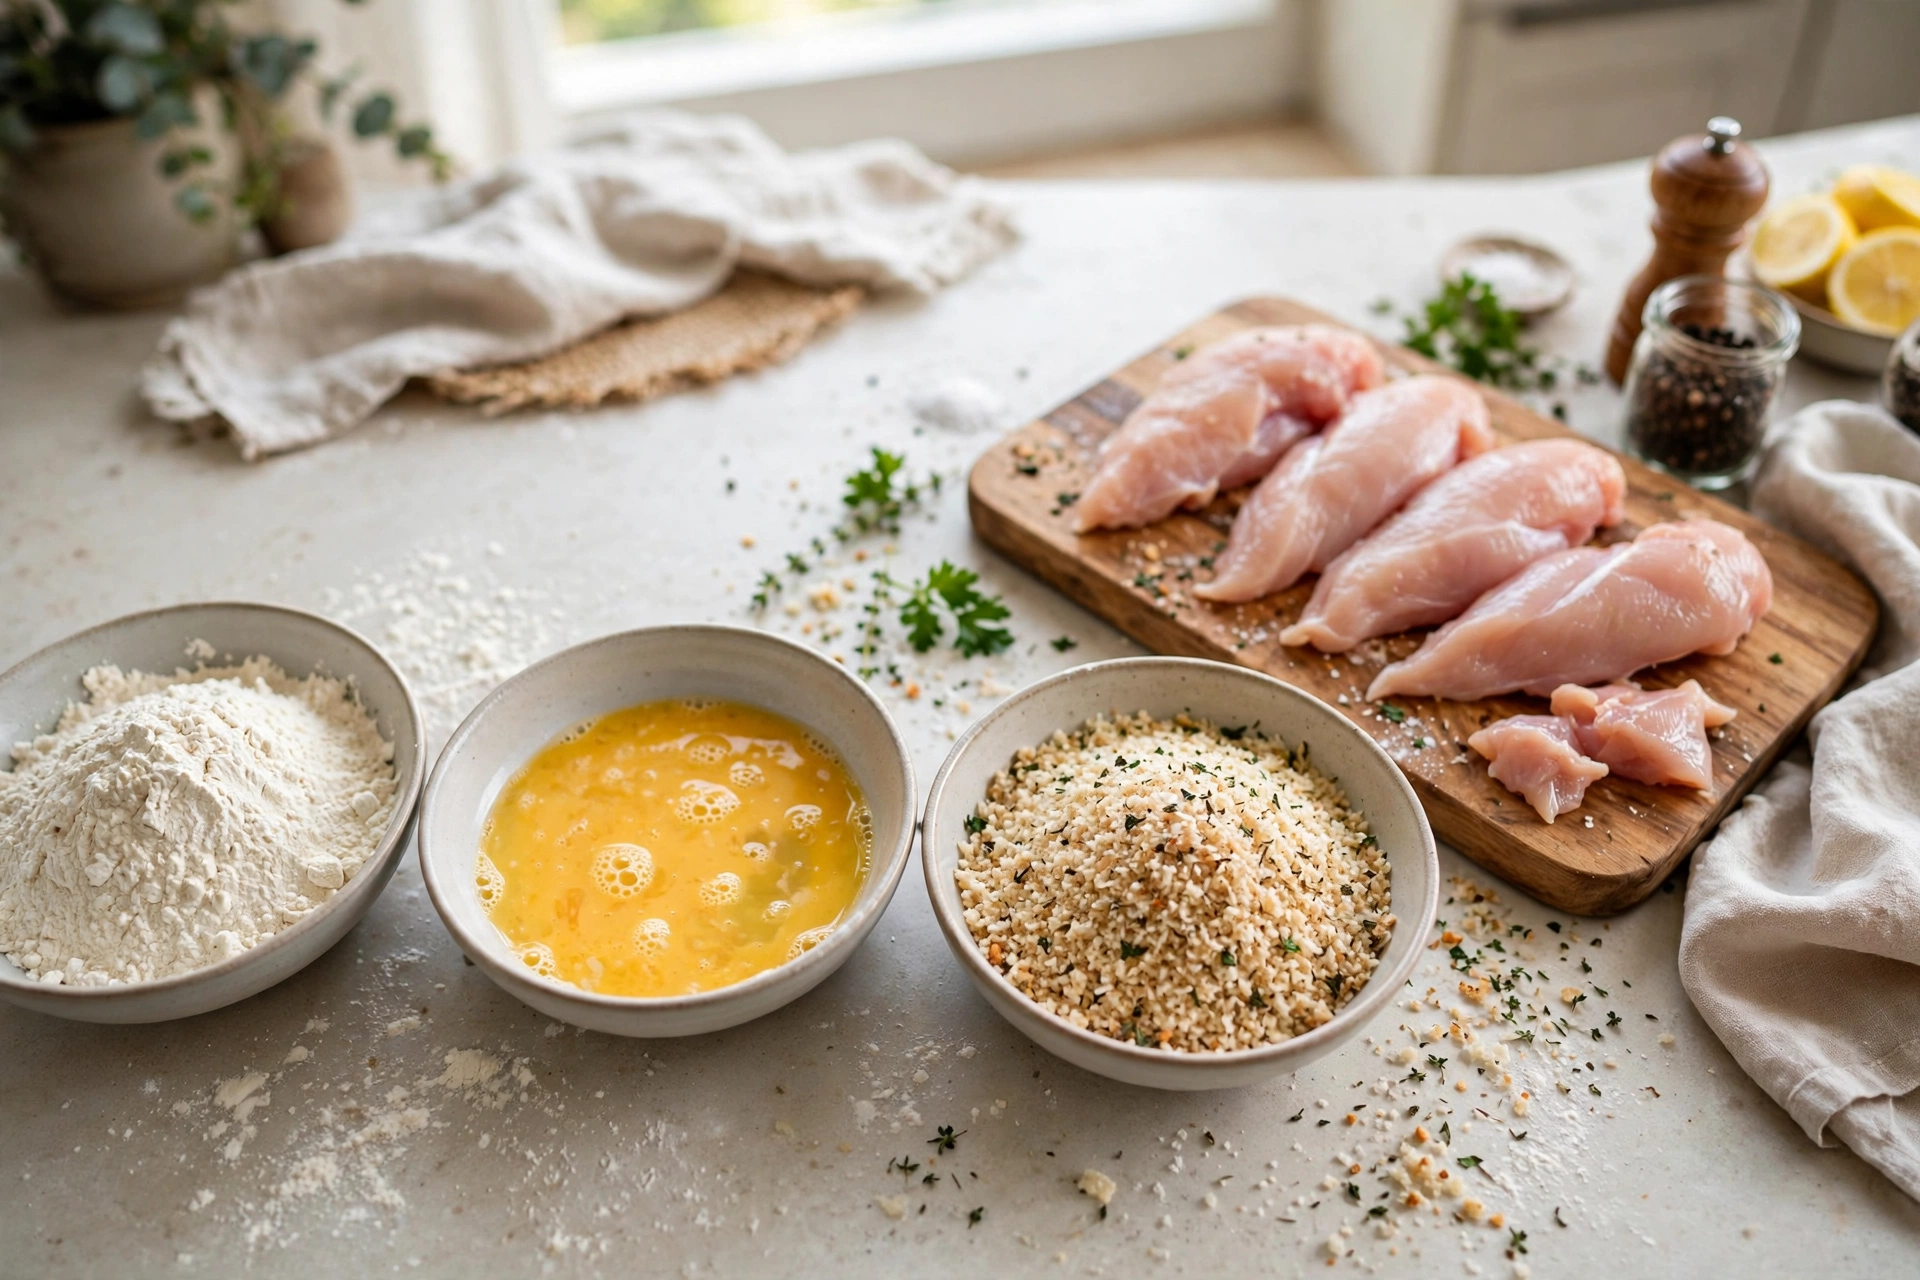
The coating is a three-part system, and each part has a job. The seasoned gluten-free flour gives the egg something to grip. The egg wash is the glue. The gluten-free panko is the crunch — regular gluten-free breadcrumbs work, but panko’s larger, airier flakes brown better and stay crispier. Look for panko specifically labeled gluten-free; it is made from rice or corn instead of wheat. Chicken tenderloins are ideal because they are uniform in size and cook evenly, but you can slice boneless, skinless chicken breasts into strips about 3/4 inch thick.
- 1 1/2 pounds chicken tenderloins (or chicken breasts cut into 3/4-inch strips)
- 1/2 cup gluten-free all-purpose flour
- 1 teaspoon paprika
- 1 teaspoon garlic powder
- 1 teaspoon onion powder
- 1 teaspoon fine sea salt, divided
- 1/2 teaspoon freshly ground black pepper
- 2 large eggs
- 1 tablespoon water
- 1 1/2 cups gluten-free panko breadcrumbs
- 1/2 cup grated Parmesan cheese
- Cooking spray or 2 tablespoons olive oil
- Honey mustard, ketchup, or ranch, for serving
Step-by-Step Instructions
Prep time: 15 minutes | Cook time: 18-20 minutes | Total time: 35 minutes | Servings: 4 | Calories: ~320 per serving (estimated, without dipping sauce)
- Heat the oven and set up the rack. Preheat the oven to 425°F — hot enough to crisp the coating fast before the chicken dries out. Set a wire rack inside a rimmed baking sheet and coat the rack generously with cooking spray. This setup is the whole game: air circulates underneath, so the bottoms get just as crispy as the tops.
- Season the chicken. Pat the chicken tenderloins dry with paper towels — moisture is the enemy of adhesion. Season all over with 1/2 teaspoon of the salt and the black pepper. Dry chicken plus seasoned meat means flavor in every bite, not just in the coating.
- Set up the breading station. In a shallow bowl, whisk together the gluten-free flour, paprika, garlic powder, onion powder, and remaining 1/2 teaspoon salt. In a second shallow bowl, beat the eggs with the tablespoon of water until smooth. In a third shallow bowl, combine the gluten-free panko and the grated Parmesan. Line them up in order: flour, egg, panko. I use pie plates — they are the perfect size for dredging.
- Bread the tenders. Working one at a time, dredge a tenderloin in the seasoned flour, shaking off the excess. Dip it in the egg wash, letting the excess drip off. Then press it firmly into the panko mixture, turning to coat and pressing so the crumbs really adhere. This pressing step is what keeps the coating from falling off later — do not be gentle. Set each breaded tender on the prepared wire rack without touching its neighbors.
- Oil the coating. Lightly spray the tops of the breaded tenders with cooking spray, or drizzle with the olive oil. This small amount of fat is what helps the panko turn golden and crisp in the oven — without it, the coating can look pale and taste dry.
- Bake. Bake for 18 to 20 minutes, flipping once halfway through, until the coating is deep golden brown and the chicken reaches 165°F on an instant-read thermometer. The flip is worth doing: it evens out the browning on both sides. Do not overbake — chicken tenderloins go from juicy to chalky quickly past 165°F.
- Rest and serve. Let the tenders rest on the rack for 3 to 5 minutes. This lets the juices redistribute and the coating set so it stays put when you pick one up. Serve hot with honey mustard, ketchup, or ranch for dipping. My house goes through an embarrassing amount of honey mustard with these.
Pro Tips
- Dry chicken is non-negotiable. Pat the tenderloins thoroughly dry before seasoning. Wet chicken steams under its coating instead of crisping.
- Press the panko on firmly. A light sprinkle will fall off in the oven. Press each tender into the crumbs with real pressure, almost like you are packing a snowball.
- Do not crowd the rack. Space the tenders at least an inch apart. Crowding traps steam, and steam is the enemy of crisp.
- Use a thermometer. Chicken tenderloins vary in thickness, so time is a guideline and temperature is the truth. Pull them at 165°F for juicy, safe chicken.
- Toast the panko for extra crunch. If you have 5 extra minutes, toast the gluten-free panko in a dry skillet over medium heat until lightly golden before breading. It deepens the color and the crunch noticeably.
Variations
Once you have the method, the flavor possibilities are wide open. For a spicy version, add 1/2 teaspoon of cayenne to the flour mixture and serve with sriracha mayo. An Italian spin: add 1 teaspoon of Italian seasoning to the panko and serve with warm marinara. For parmesan-crusted tenders that taste almost like chicken parm, double the Parmesan and skip the flip — just bake a few minutes longer. These also work beautifully in the air fryer: cook at 400°F for 10 to 12 minutes, flipping halfway. And for gluten-free chicken nuggets the kids will lose their minds over, cut the tenders into 1 1/2-inch chunks and reduce the bake time to 12 to 14 minutes.
Storage & Reheating
Store leftover tenders in an airtight container in the refrigerator for up to 3 days. The microwave will make them soggy, so reheat in a 400°F oven or air fryer for 8 to 10 minutes until hot and re-crisped — they come back remarkably well. For freezing, cool the baked tenders completely, arrange them in a single layer on a baking sheet, and freeze until solid (about 1 hour). Transfer to a freezer bag with as much air removed as possible and freeze for up to 2 months. Reheat straight from frozen at 400°F for 12 to 15 minutes. I keep a bag in the freezer at all times for those nights when dinner needs to happen in fifteen minutes flat.
FAQs
Why does the coating fall off my chicken tenders?
Almost always one of three things: the chicken was wet when you started, you skipped the flour dredge (it gives the egg something to hold onto), or you did not press the panko on firmly enough. Dry chicken, full three-step breading, firm press — follow all three and the coating stays put.
Can I use regular breadcrumbs instead of gluten-free panko?
If you do not need the recipe to be gluten-free, regular panko works exactly the same way. But do not substitute fine dry breadcrumbs for panko in either version — the larger panko flakes are what create that shattering crunch. Fine crumbs make a denser, less crispy coating.
Can I make these in the air fryer?
Yes, and they are excellent. Arrange the breaded tenders in a single layer in the air fryer basket (work in batches), spray lightly with oil, and cook at 400°F for 10 to 12 minutes, flipping halfway, until golden and 165°F inside.
How do I know when the chicken is done without a thermometer?
Cut into the thickest tender — the meat should be completely white with no pink, and the juices should run clear. That said, an instant-read thermometer is a ten-dollar tool that takes all the guesswork out, and I recommend one to every home cook.
Need more celiac-safe dinners? Browse my gluten-free recipes, find weeknight winners in dinner recipes, and read my story on the about page.