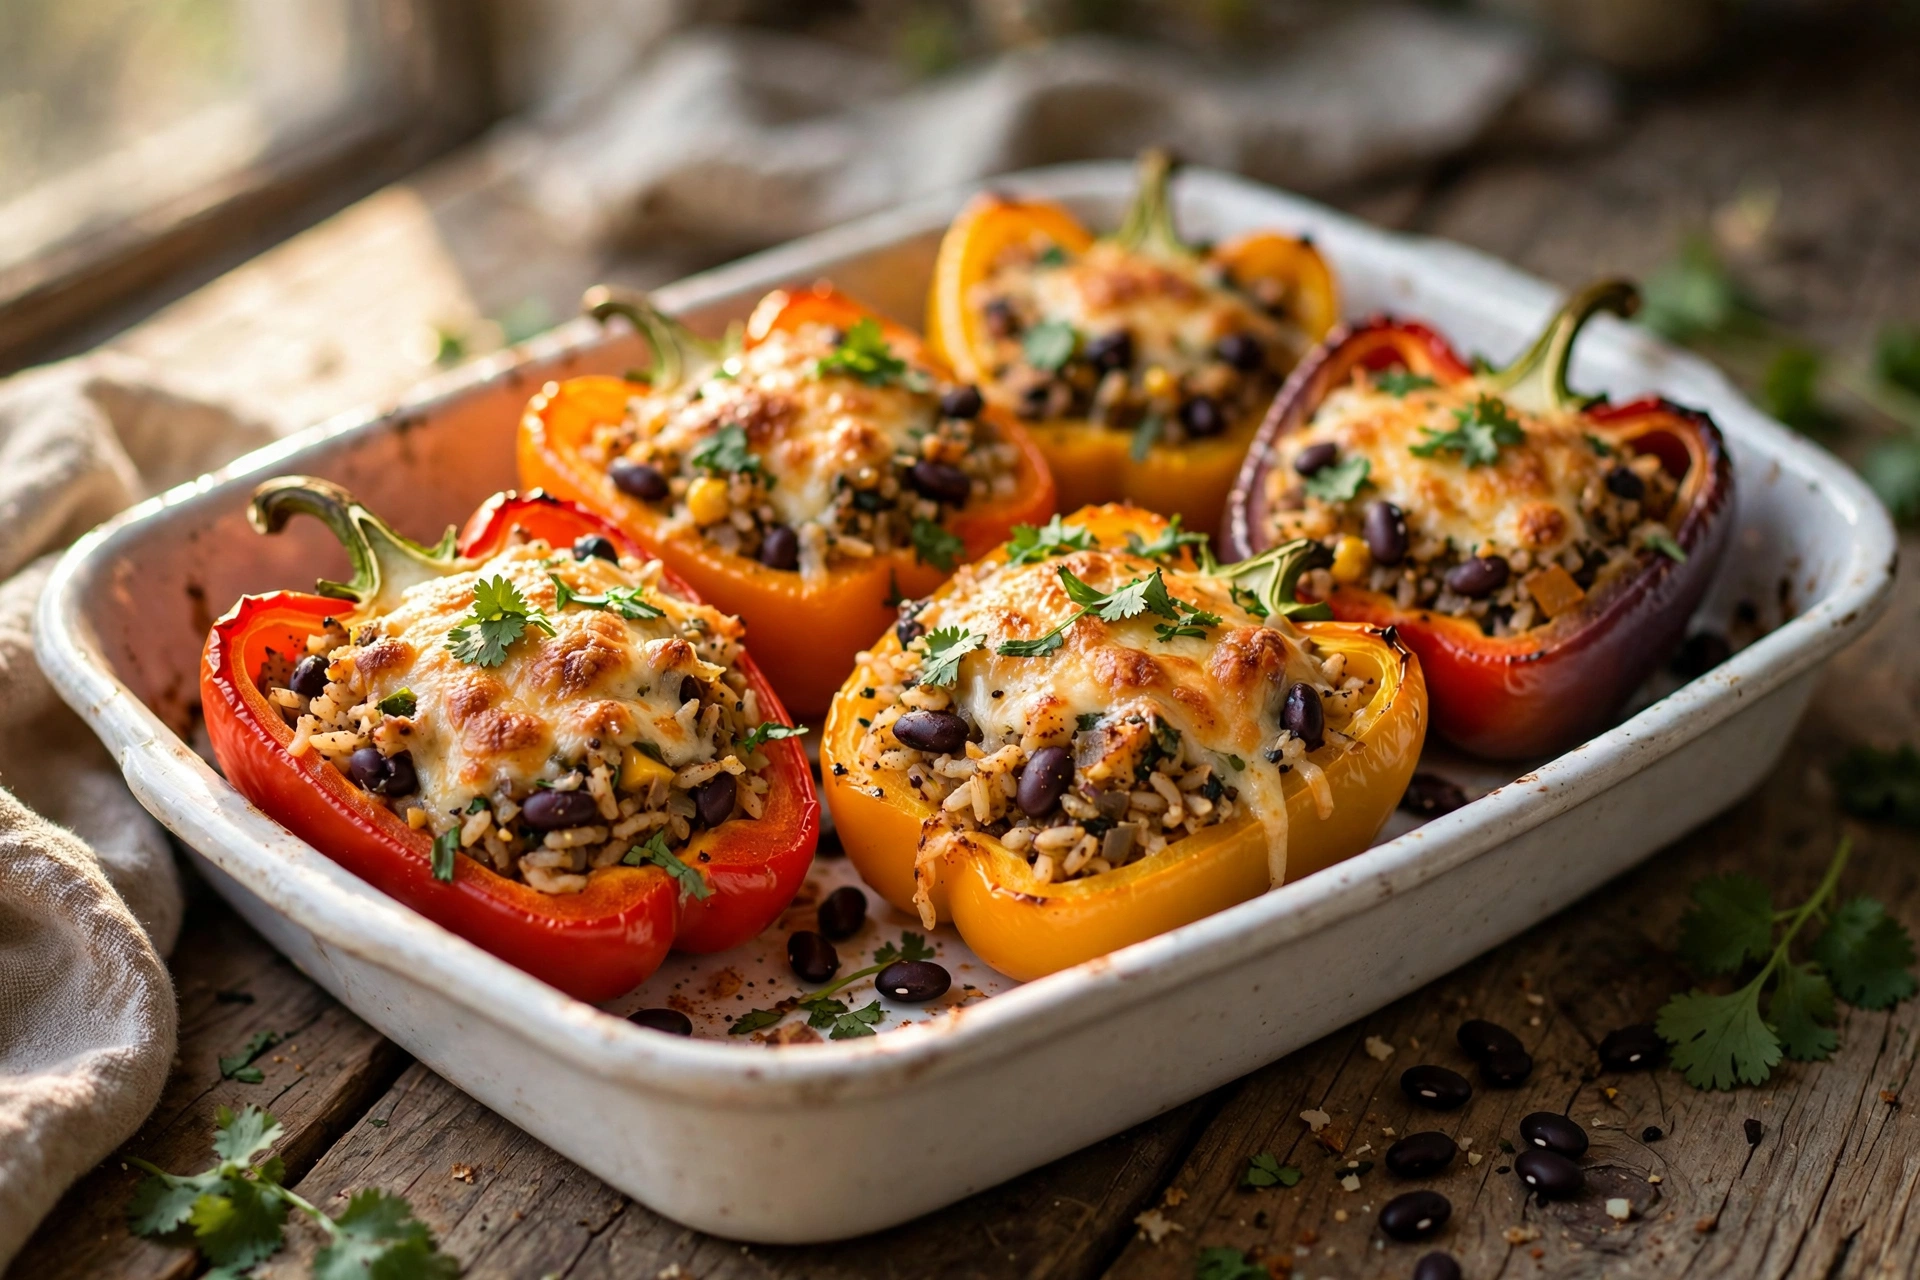
My grandmother made stuffed peppers the old-school way, with ground beef and a can of tomato soup, and I loved them fiercely as a kid. When I stopped eating meat in my twenties, I assumed that dish was off the table for me — pun intended. Then one rainy Saturday I stood in my kitchen with a bag of bell peppers, leftover rice, and a can of black beans, and thought: why not? I will be honest, my first attempt was a little sad. The filling was dry, the peppers were somehow both crunchy and soggy. But I kept tinkering, and the version I am sharing today is the one my meat-loving brother requests every time he visits. He does not even ask what is in them anymore. He just shows up and says, “Are you making the peppers?”
The secret turned out to be simple: season the filling like you mean it, do not overcook the peppers before they go in the oven, and finish with enough cheese to get those irresistible golden spots on top. These vegetarian stuffed bell peppers are hearty enough to be dinner all on their own, colorful enough to make the table look like a celebration, and easy enough for a Tuesday. They also reheat like a dream, which makes them a quiet meal-prep hero in my house.
Why You’ll Love This Recipe
- Complete meal in one dish: Protein from the beans, fiber from the rice and peppers, and melty cheese on top — no side dish required.
- Great for meal prep: Assemble a full pan on Sunday, bake what you need, and refrigerate the rest for easy lunches.
- Kid-approved: The sweet peppers, mild seasoning, and cheesy top win over even skeptical young eaters.
- Budget-friendly: Bell peppers, rice, beans, and corn — this is humble grocery-store food dressed up for dinner.
- Easily customizable: The filling is a formula, not a rule. Swap grains, beans, and cheeses to use what you have.
- Beautiful on the table: Red, yellow, and orange peppers lined up in a baking dish look like you tried much harder than you did.
Ingredients
I use a mix of red, yellow, and orange bell peppers because they are sweeter than green ones and they make the prettiest presentation. That said, green peppers work fine if that is what is on sale — just know they have a slightly more bitter, vegetal bite. Day-old cooked rice is ideal here because it is drier and soaks up the sauce without turning mushy, but fresh rice works too if you spread it on a tray to cool for a few minutes first.
- 4 large bell peppers (red, yellow, or orange), halved lengthwise and seeded
- 1 tablespoon olive oil, plus more for the baking dish
- 1 medium yellow onion, diced
- 3 garlic cloves, minced
- 1 teaspoon ground cumin
- 1 teaspoon chili powder
- 1/2 teaspoon smoked paprika
- 1/2 teaspoon dried oregano
- 1 can (15 ounces) black beans, drained and rinsed
- 1 cup corn kernels (frozen and thawed, or fresh)
- 1 can (14 ounces) diced tomatoes, drained
- 2 cups cooked long-grain rice (about 3/4 cup uncooked)
- 1 teaspoon fine sea salt, plus more to taste
- 1/2 teaspoon freshly ground black pepper
- 1 1/2 cups shredded Monterey Jack cheese, divided
- 1/4 cup chopped fresh cilantro, plus more for serving
- Sour cream, salsa, and lime wedges, for serving
Step-by-Step Instructions
Prep time: 20 minutes | Cook time: 40 minutes | Total time: 1 hour | Servings: 4 (8 pepper halves) | Calories: ~340 per serving (estimated, 2 halves)
- Heat the oven and prep the peppers. Preheat the oven to 375°F. Lightly oil a 9×13-inch baking dish. Halve the bell peppers lengthwise through the stem and scoop out the seeds and white membranes with a spoon. A grapefruit spoon works brilliantly for this if you have one. Arrange the pepper halves cut-side up in the baking dish so they fit snugly — they should support each other and not tip over.
- Par-bake the peppers. Brush or drizzle the peppers lightly with olive oil and sprinkle with a pinch of salt. Bake for 12 to 15 minutes while you make the filling. This head start softens them just enough so they finish tender at the same time as the filling heats through. Do not skip this — raw peppers stuffed and baked straight will still be crunchy when everything else is done. Pour off any liquid that collects in the dish.
- Cook the filling base. While the peppers par-bake, heat 1 tablespoon of olive oil in a large skillet over medium heat. Add the diced onion and cook 4 to 5 minutes until soft and translucent. Stir in the garlic, cumin, chili powder, smoked paprika, and oregano; cook 1 minute until fragrant. Your kitchen should smell incredible right about now.
- Combine the filling. Add the black beans, corn, and drained diced tomatoes to the skillet. Stir and cook 2 to 3 minutes until everything is heated through. Remove from the heat and fold in the cooked rice, salt, black pepper, 1 cup of the shredded cheese, and the cilantro. Taste and adjust the seasoning — the filling should taste bold and well-salted on its own, because the mild peppers will mellow it out.
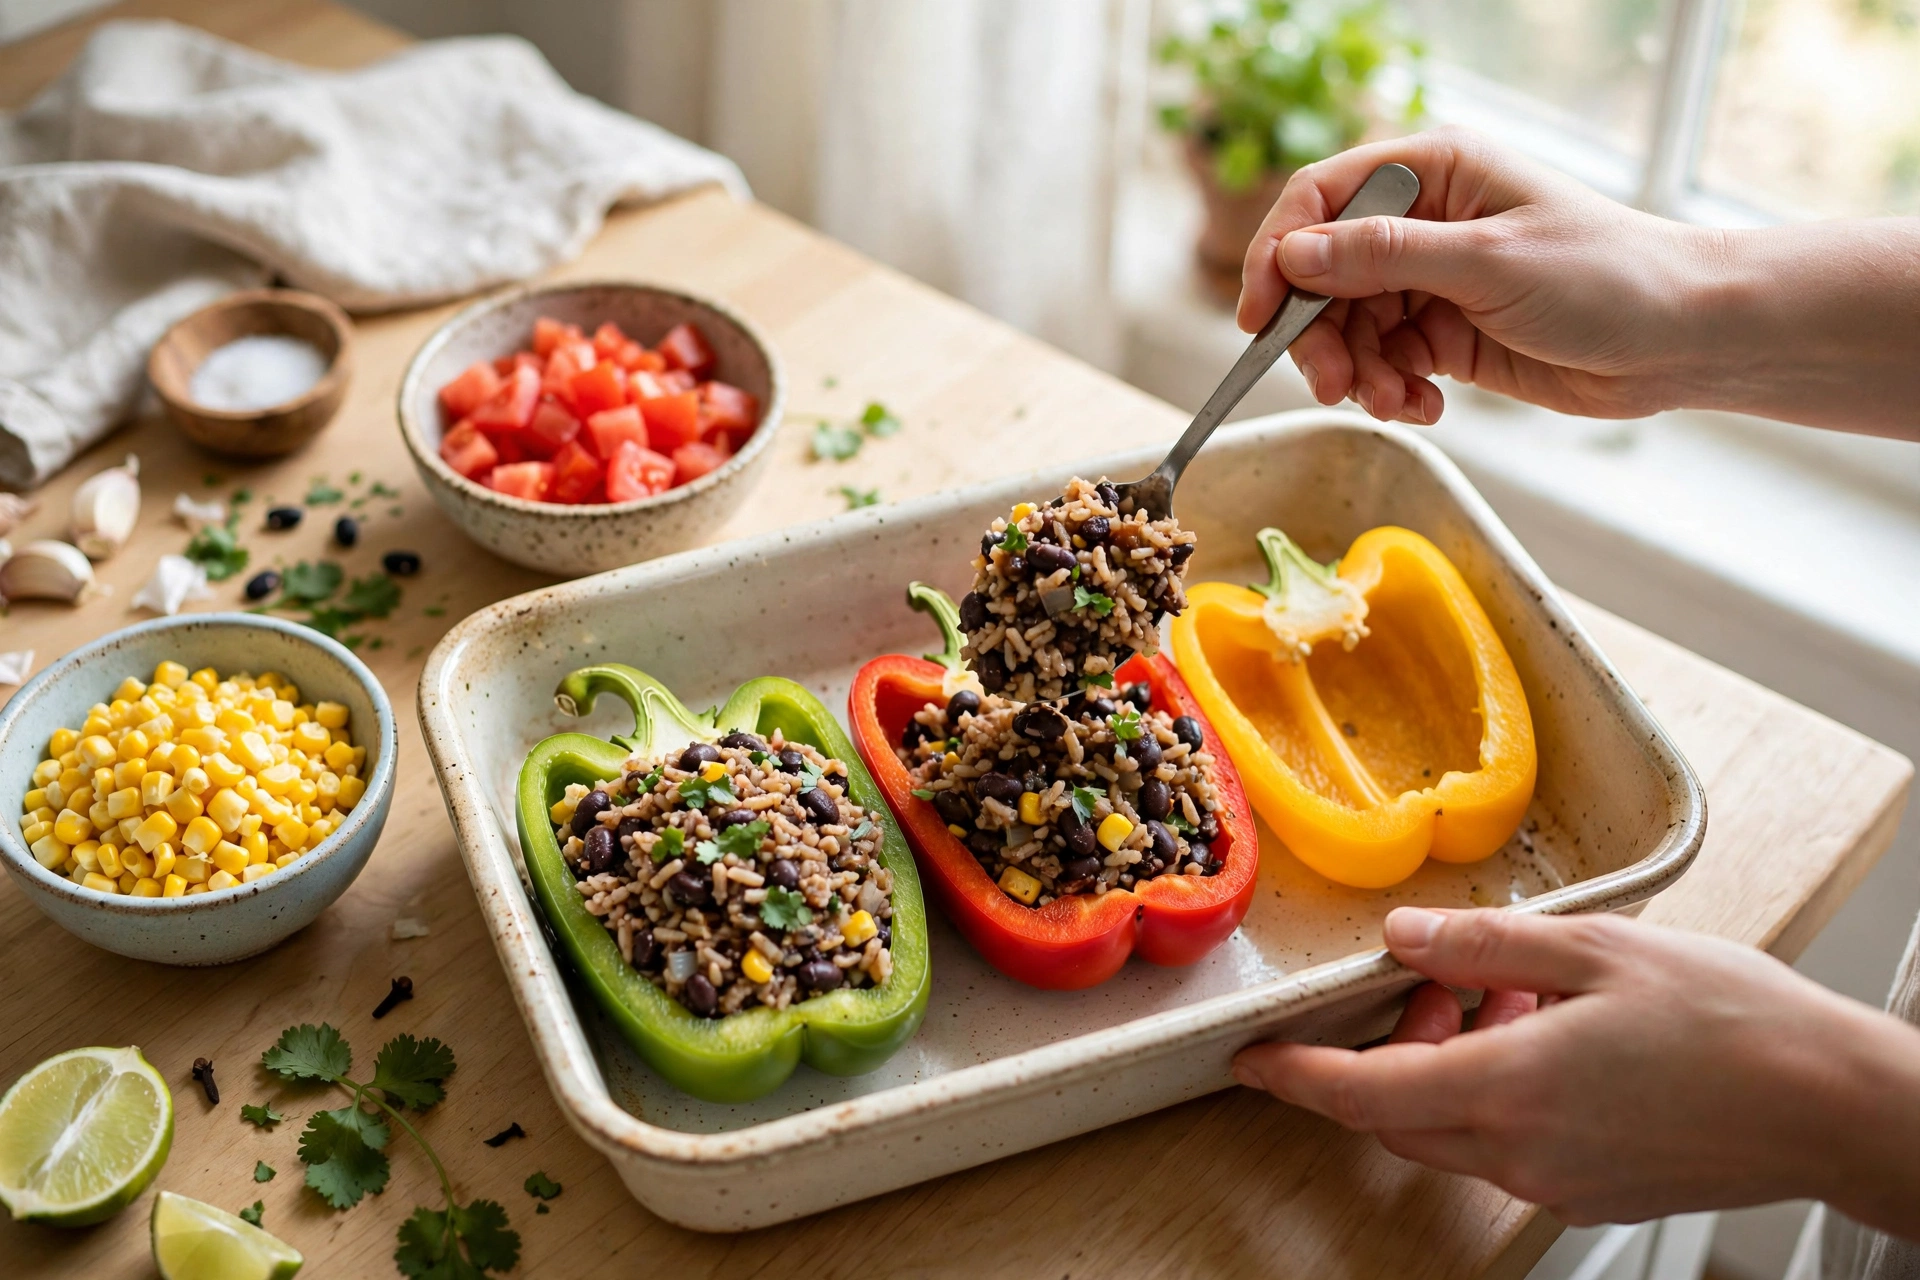
- Stuff the peppers. Spoon the filling generously into each par-baked pepper half, mounding it slightly on top. Pack it in with the back of the spoon so there are no air pockets. Sprinkle the remaining 1/2 cup of cheese evenly over the tops.
- Bake. Cover the dish loosely with foil and bake for 20 minutes. Remove the foil and bake 10 to 15 minutes more, until the peppers are tender when pierced with a knife and the cheese is melted with golden-brown spots. If you like extra browning, switch on the broiler for the last 1 to 2 minutes — but watch it like a hawk, because cheese goes from golden to burnt fast.
- Rest and serve. Let the peppers rest for 5 minutes out of the oven; the filling sets up slightly and they are easier to serve. Top with extra cilantro and serve with sour cream, salsa, and lime wedges on the side. I set out the toppings buffet-style and let everyone build their own plate.
Pro Tips
- Choose peppers that sit flat. When shopping, pick peppers with flatter bottoms or ones that are roughly the same size so they bake evenly and do not roll around in the dish.
- Drain the tomatoes well. Excess liquid is the number one cause of soggy stuffed peppers. I drain the canned tomatoes in a fine-mesh strainer and even press them gently.
- Season the filling aggressively. Bland filling is the most common complaint with stuffed peppers. Taste it before stuffing — it should be a touch saltier and spicier than you think necessary.
- Do not overstuff to the point of overflow. A generous mound is good, but filling cascading down the sides will burn on the hot dish. Pack it in, mound it up, and stop there.
- Make them ahead: You can stuff the peppers up to a day in advance, cover, and refrigerate. Add 5 to 10 minutes to the covered baking time since they will go into the oven cold.
Variations
The filling formula here is rice plus beans plus vegetables plus cheese, and you can riff on it endlessly. Try quinoa or farro instead of rice for a nuttier bite, or swap the black beans for pinto beans or chickpeas. A Mediterranean version with couscous, chickpeas, diced cucumber, and feta (added after baking) is fantastic in summer. For a little heat, add a diced jalapeño to the filling or use pepper Jack cheese instead of Monterey Jack. If you want them vegan, skip the cheese or use your favorite dairy-free shreds and serve with guacamole instead of sour cream. And if you have taco seasoning on hand, 2 tablespoons can replace the individual spices in a pinch — I will not tell.
Storage & Reheating
Store leftover stuffed peppers in an airtight container in the refrigerator for up to 4 days. They reheat beautifully: microwave individual halves for 2 to 3 minutes, or warm the whole dish covered with foil in a 350°F oven for 15 to 20 minutes. The peppers soften a bit more on reheating but the flavor holds up wonderfully, which is why I deliberately make a double batch most weeks. For freezing, cool the baked peppers completely, wrap each half tightly, and freeze for up to 2 months. Thaw overnight in the refrigerator before reheating. I do not recommend freezing them unbaked — the peppers release too much water on thawing.
FAQs
Do I have to par-bake the peppers first?
I strongly recommend it. Peppers are dense, and without a head start they stay crunchy while the filling is already hot. Twelve to fifteen minutes of par-baking gives you peppers that are perfectly tender — soft enough to cut with a fork but still holding their shape — right when the cheese turns golden.
Can I make stuffed peppers without rice?
Yes. Cooked quinoa is my favorite substitute and adds extra protein. Cauliflower rice works for a lower-carb version, though the filling will be a bit looser — add an extra 1/4 cup of cheese to help bind it. Couscous and farro are also great options.
How do I keep stuffed peppers from getting soggy?
Three things: drain the canned tomatoes thoroughly, do not skip par-baking (and pour off the liquid the peppers release), and avoid overbaking. A snug-fitting dish also helps the peppers steam less and roast more.
Can I prepare these ahead of time?
Definitely. Assemble the stuffed peppers completely, cover the dish tightly, and refrigerate for up to 24 hours before baking. Add 5 to 10 minutes to the covered bake time since they start cold. The filling can also be made 2 days ahead on its own.
Looking for more meatless dinners? Explore my vegetarian recipes collection, find easy weeknight ideas in dinner recipes, and read my story on the about page.